
Webベースのネットワーク機器管理ツール「rConfig」なるものを見かけたので、試しにインストールして見ることにした。
なお、インストール先はCentOS 7には対応していないため、CentOS 6を用いる。
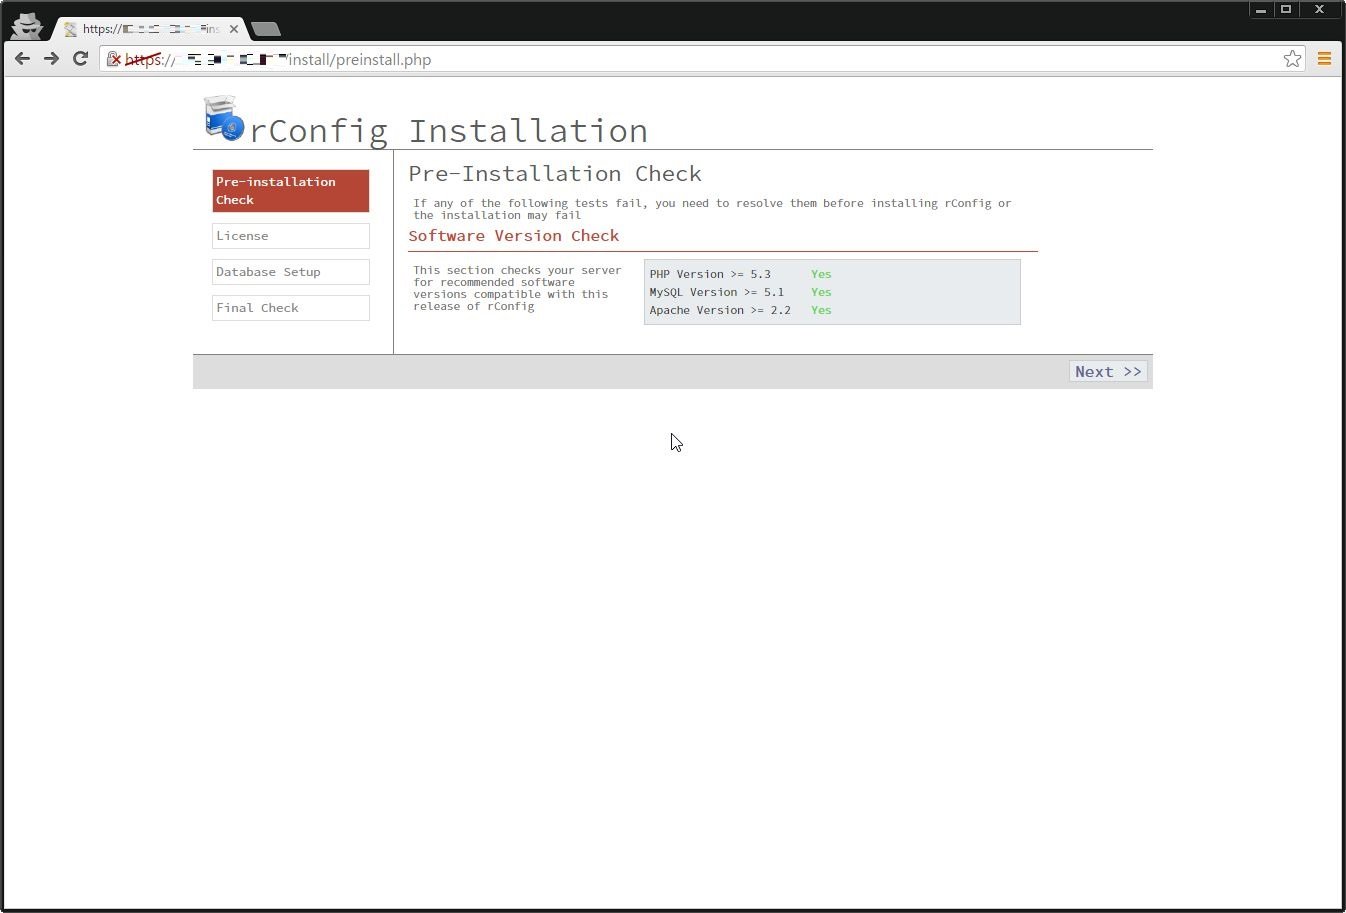
1.前提パッケージのインストール・設定
まずはrConfigの動作に前提となるパッケージをインストールする。
以下のコマンドを実行する。
yum -y install wget mlocate attr open-vm-tools httpd openssl-devel openssl mod_ssl vsftpd telnet bind-utils vixie-cron crontabs mysql-server mod_authn_dbd mysql-devel
yum -y install php-bcmath php-cli php-common php-gd php-ldap php-mbstring php-mcrypt php-mysql php-pdo php-php-gettext.noarch php-tidy php-xml graphviz-php php
yum -y groupinstall 'Development Tools'
Apacheインストール後、「/etc/sudoers」に設定を追記する。
cat << EOF >> /etc/sudoers
apache ALL = (ALL) NOPASSWD: /usr/bin/crontab, /usr/bin/zip, /bin/chmod, /bin/chown, /usr/bin/whoami
Defaults:apache !requiretty
EOF
SELinux/iptablesの停止を行う。
setenforce 0
sed -i.bak "/SELINUX/s/enforcing/disabled/g" /etc/selinux/config
service iptables stop
chkconfig iptables off
事前にMariaDBのセキュリティ関係の設定を行っておく。
service mysqld start
chkconfig mysqld on
mysql_secure_installation
mysql -u root -p -h 127.0.0.1 -e "GRANT ALL ON *.* to root@'127.0.0.1' IDENTIFIED BY 'rootpassword';FLUSH PRIVILEGES;"
[root@BS-PUB-CENT6-01 ~]# mysql_secure_installation
NOTE: RUNNING ALL PARTS OF THIS SCRIPT IS RECOMMENDED FOR ALL MySQL
SERVERS IN PRODUCTION USE! PLEASE READ EACH STEP CAREFULLY!
In order to log into MySQL to secure it, we'll need the current
password for the root user. If you've just installed MySQL, and
you haven't set the root password yet, the password will be blank,
so you should just press enter here.
Enter current password for root (enter for none):
OK, successfully used password, moving on...
Setting the root password ensures that nobody can log into the MySQL
root user without the proper authorisation.
Set root password? [Y/n]
New password:
Re-enter new password:
Password updated successfully!
Reloading privilege tables..
... Success!
By default, a MySQL installation has an anonymous user, allowing anyone
to log into MySQL without having to have a user account created for
them. This is intended only for testing, and to make the installation
go a bit smoother. You should remove them before moving into a
production environment.
Remove anonymous users? [Y/n]
... Success!
Normally, root should only be allowed to connect from 'localhost'. This
ensures that someone cannot guess at the root password from the network.
Disallow root login remotely? [Y/n]
... Success!
By default, MySQL comes with a database named 'test' that anyone can
access. This is also intended only for testing, and should be removed
before moving into a production environment.
Remove test database and access to it? [Y/n]
- Dropping test database...
... Success!
- Removing privileges on test database...
... Success!
Reloading the privilege tables will ensure that all changes made so far
will take effect immediately.
Reload privilege tables now? [Y/n]
... Success!
Cleaning up...
All done! If you've completed all of the above steps, your MySQL
installation should now be secure.
Thanks for using MySQL!
vsftpの設定をしておく。
mv /etc/vsftpd/vsftpd.conf /etc/vsftpd/vsftpd.conf.original
cat << EOF  >/etc/vsftpd/vsftpd.conf;
#Custom rConfig VSFTPD conf file
anonymous_enable=NO
listen=YES
local_enable=YES
write_enable=YES
local_umask=022
dirmessage_enable=YES
xferlog_enable=YES
connect_from_port_20=YES
xferlog_std_format=YES
pam_service_name=vsftpd
userlist_enable=YES
tcp_wrappers=YES
idle_session_timeout=600
data_connection_timeout=120
ftpd_banner=Welcome to the FTP Service
ls_recurse_enable=YES
EOF
service vsftpd start
chkconfig vsftpd on
2.rConfigのインストール
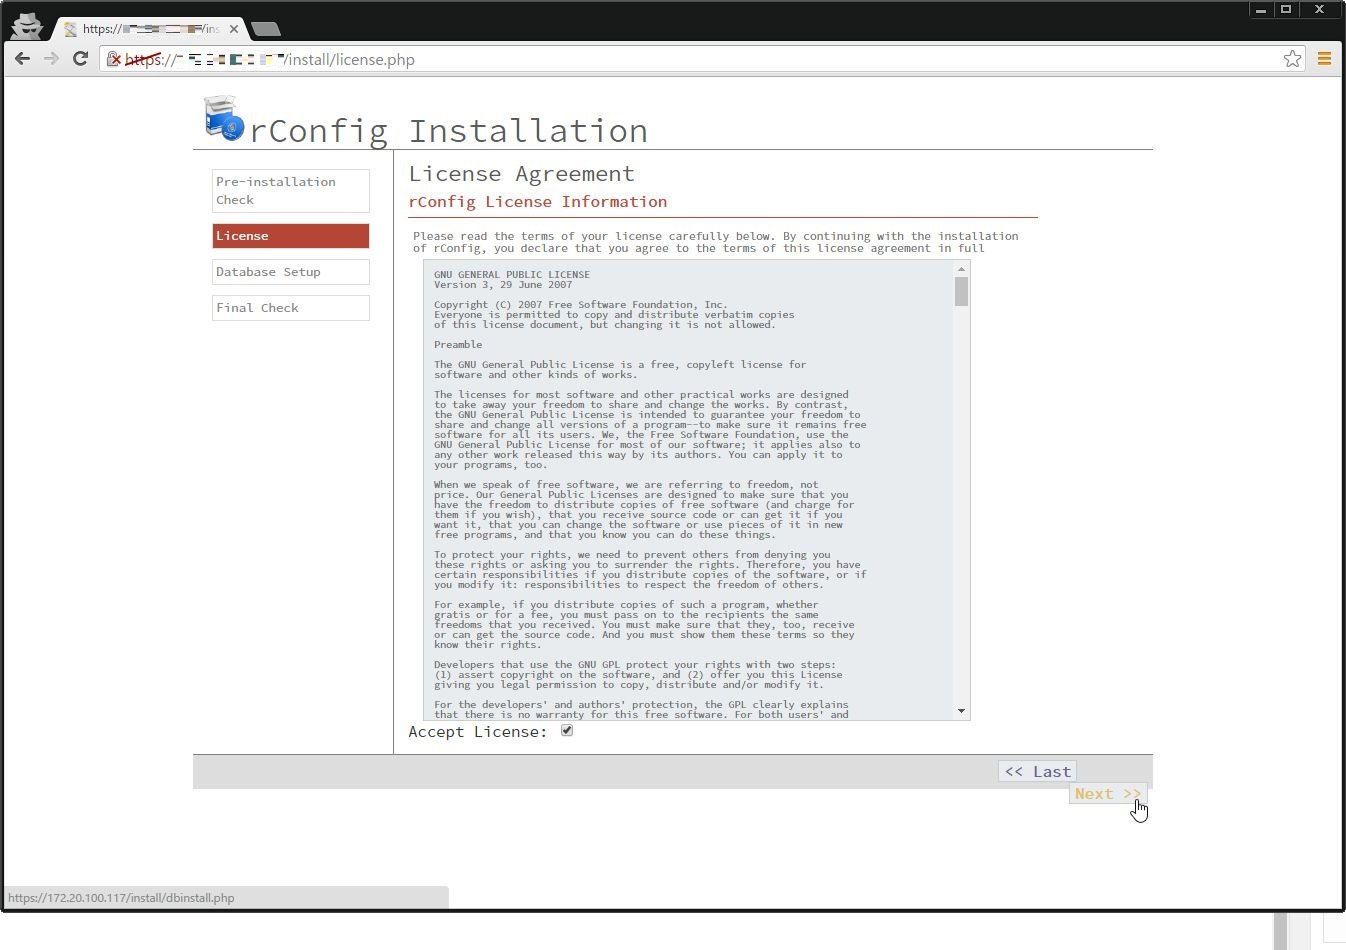
前提となるパッケージをインストールしたら、rConfigのページからダウンロードしてくる。
ダウンロード時にアカウントを作成する必要があるので、アカウントを作成しダウンロード。
ダウンロードしたzipファイルをユーザのホームディレクトリにアップし、展開、移動を行う。
unzip ~/rconfig-*
cd ~/rconfig
chown -R apache:apache ~/rconfig
mv ~/rconfig /home;cd
mv /etc/httpd/conf/httpd.conf{,.org}
cp /home/rconfig/www/install/httpd.conf.new /etc/httpd/conf/httpd.conf
service httpd start
chkconfig httpd on
これでrConfigが動作しているはずなので、ブラウザで「https://IPアドレス/install」アクセスしてみる。
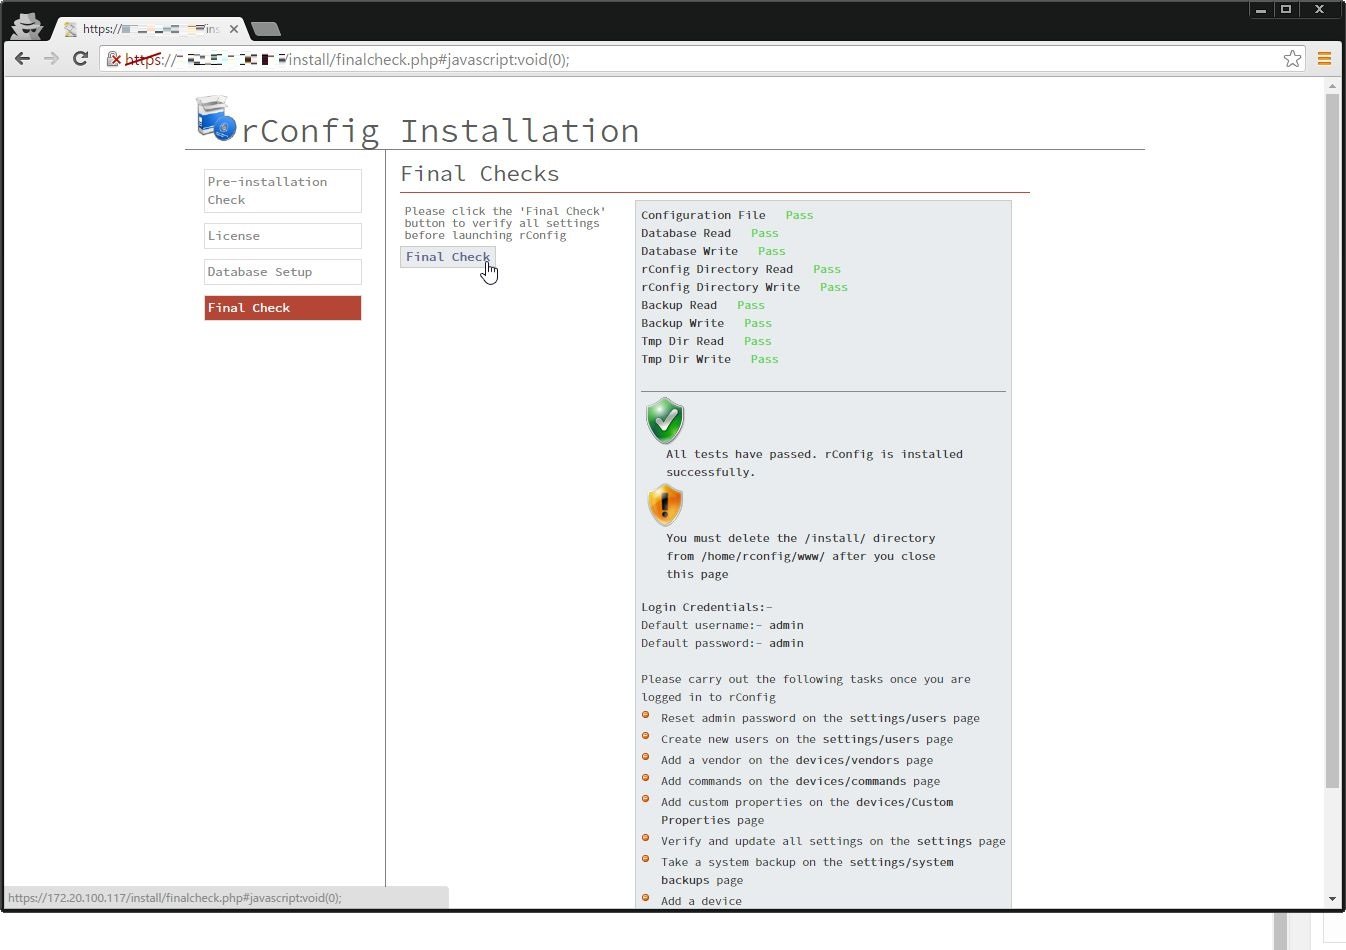
接続先のDBについては、以下のように設定する。
- Database Server : 127.0.0.1
- Database Port : 3306
- Database Name : rconfig_db
- Database Username : root
- Database Password : rootパスワード

次の画面で[Final Check]を押下して、すべてpassになっていればインストール完了だ。
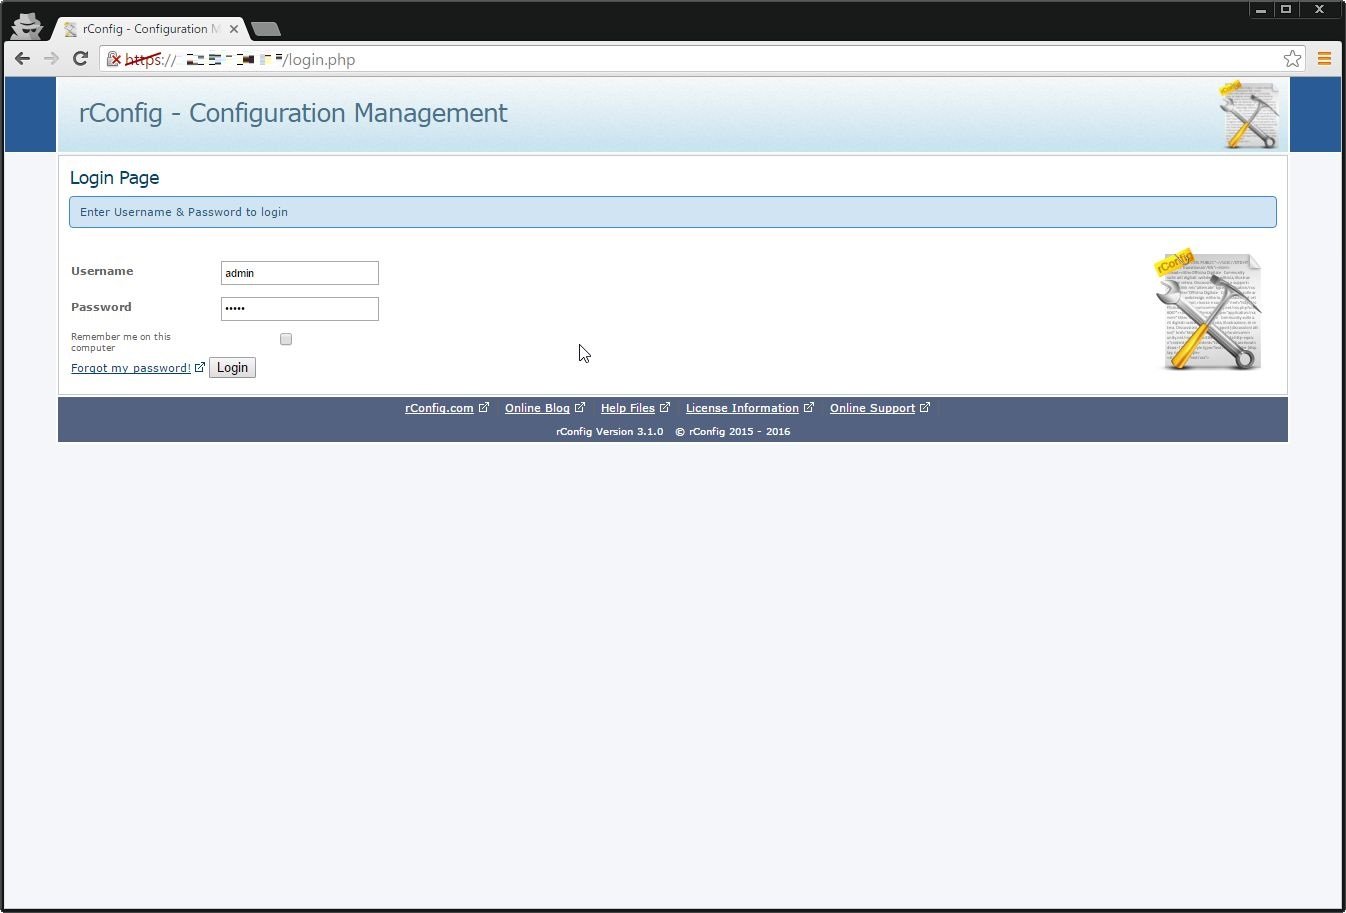
3.実際に使ってみる
さて、インストールが完了したので、実際に使ってみよう。
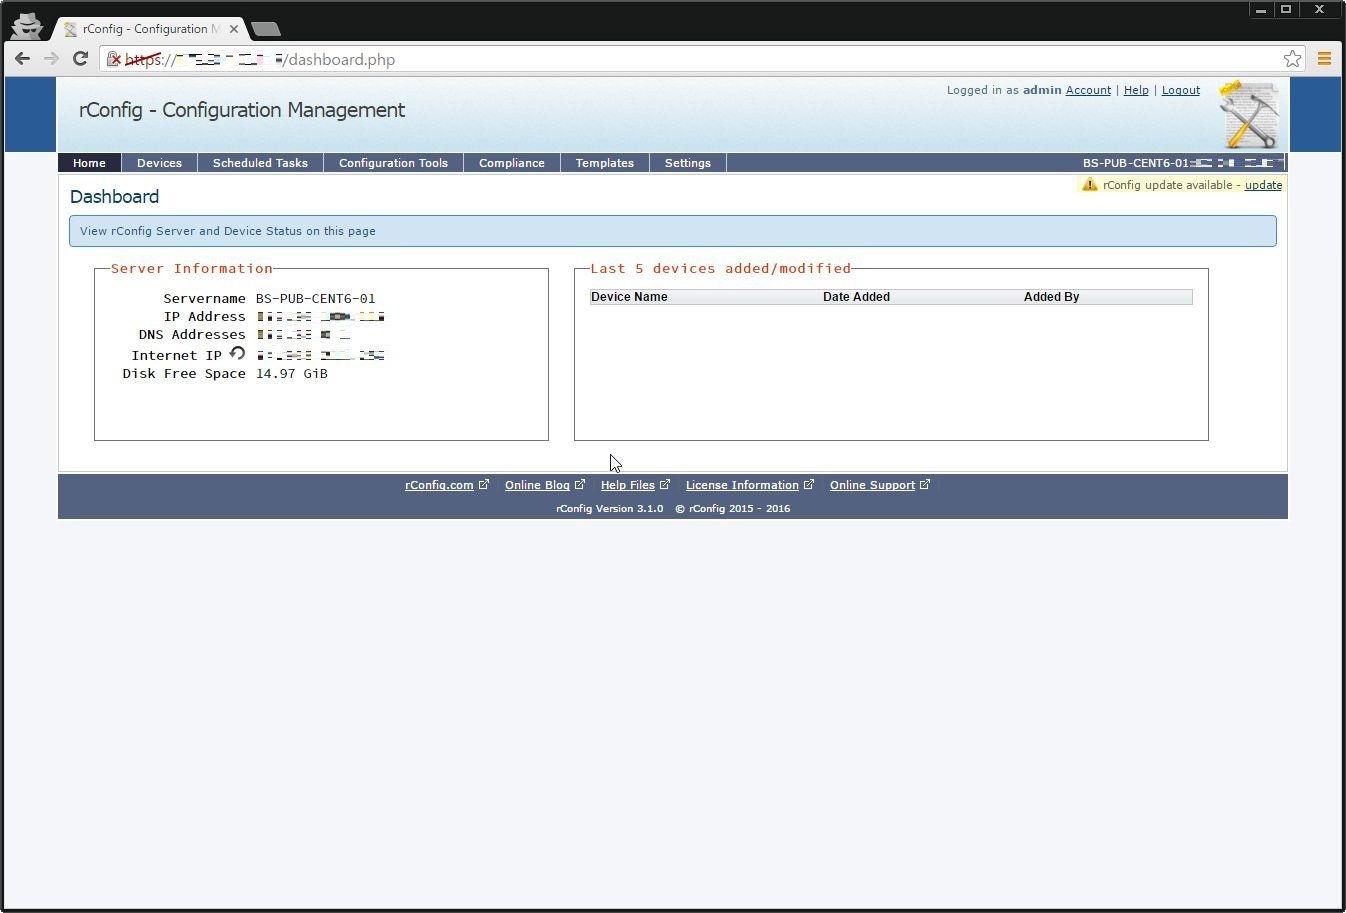
「https://IPアドレス/login.php」にアクセスし、ログインを行う。
初期ID/PWは「admin/admin」となっている。
さて、無事インストール・ログインができたので、実際にネットワーク機器を管理させてみよう。
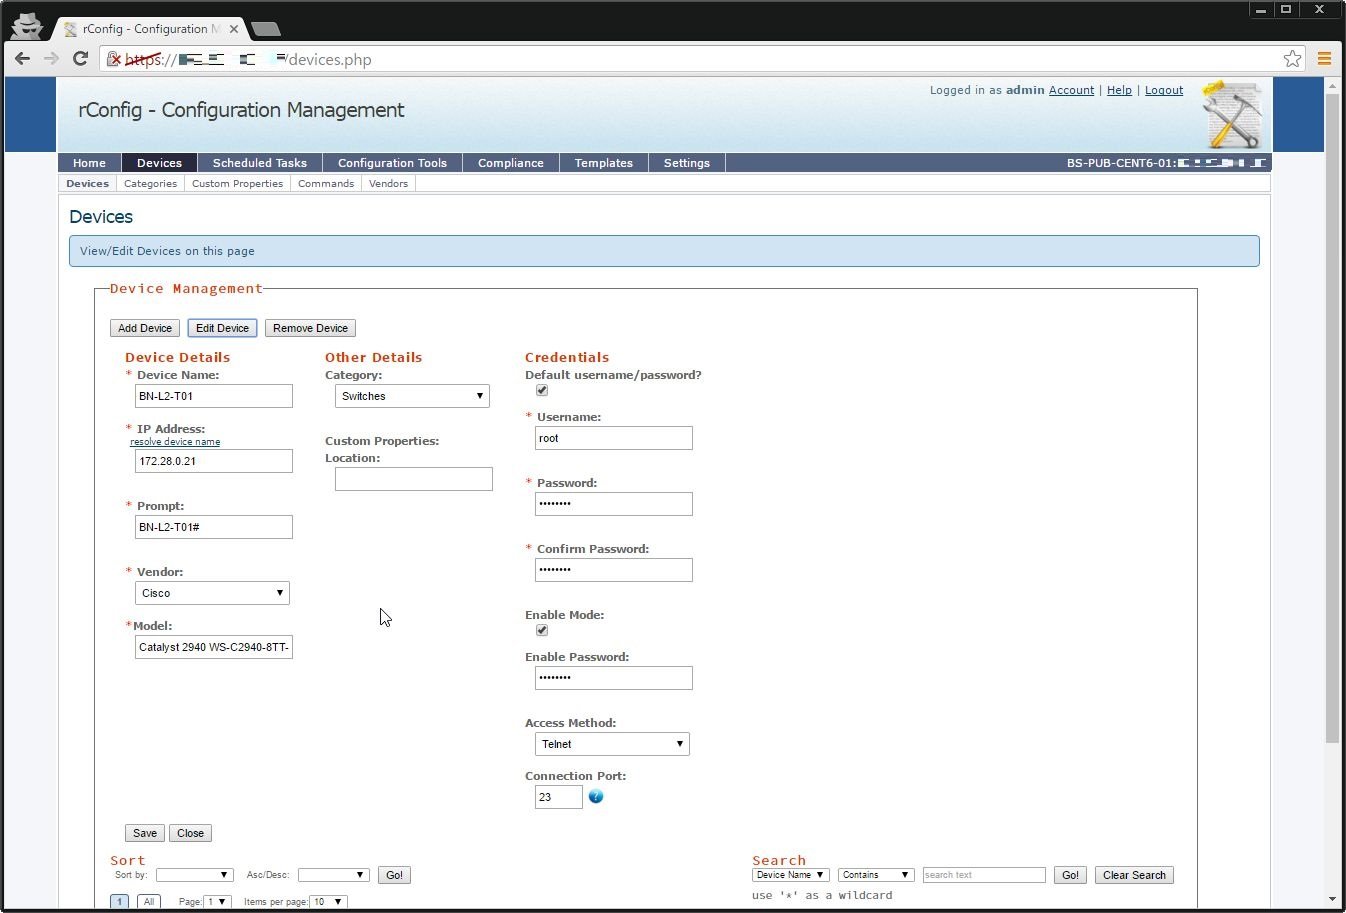
今回は、お家で余ってたL2スイッチ「Catalyst 2940 WS-C2940-8TT-S(IPアドレス:172.28.0.21)」を管理させてみる。
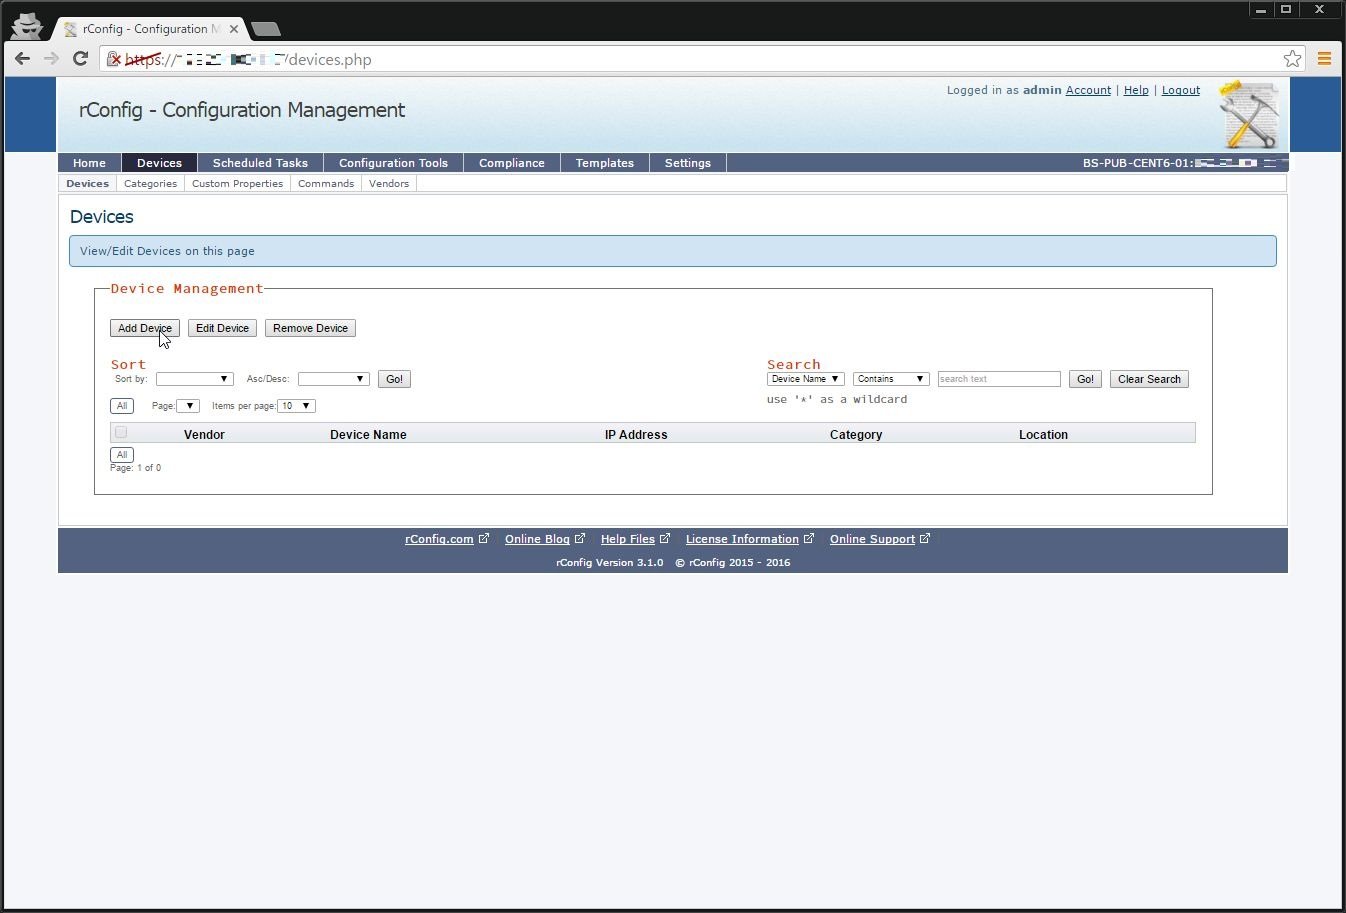
上部メニューから[Device]を選択し、[Add Device]ボタンを押下、スイッチの情報を記述する。
なお、設定の際にTerminalのユーザ名が必要になるので、事前にスイッチ側で設定しておくこと。
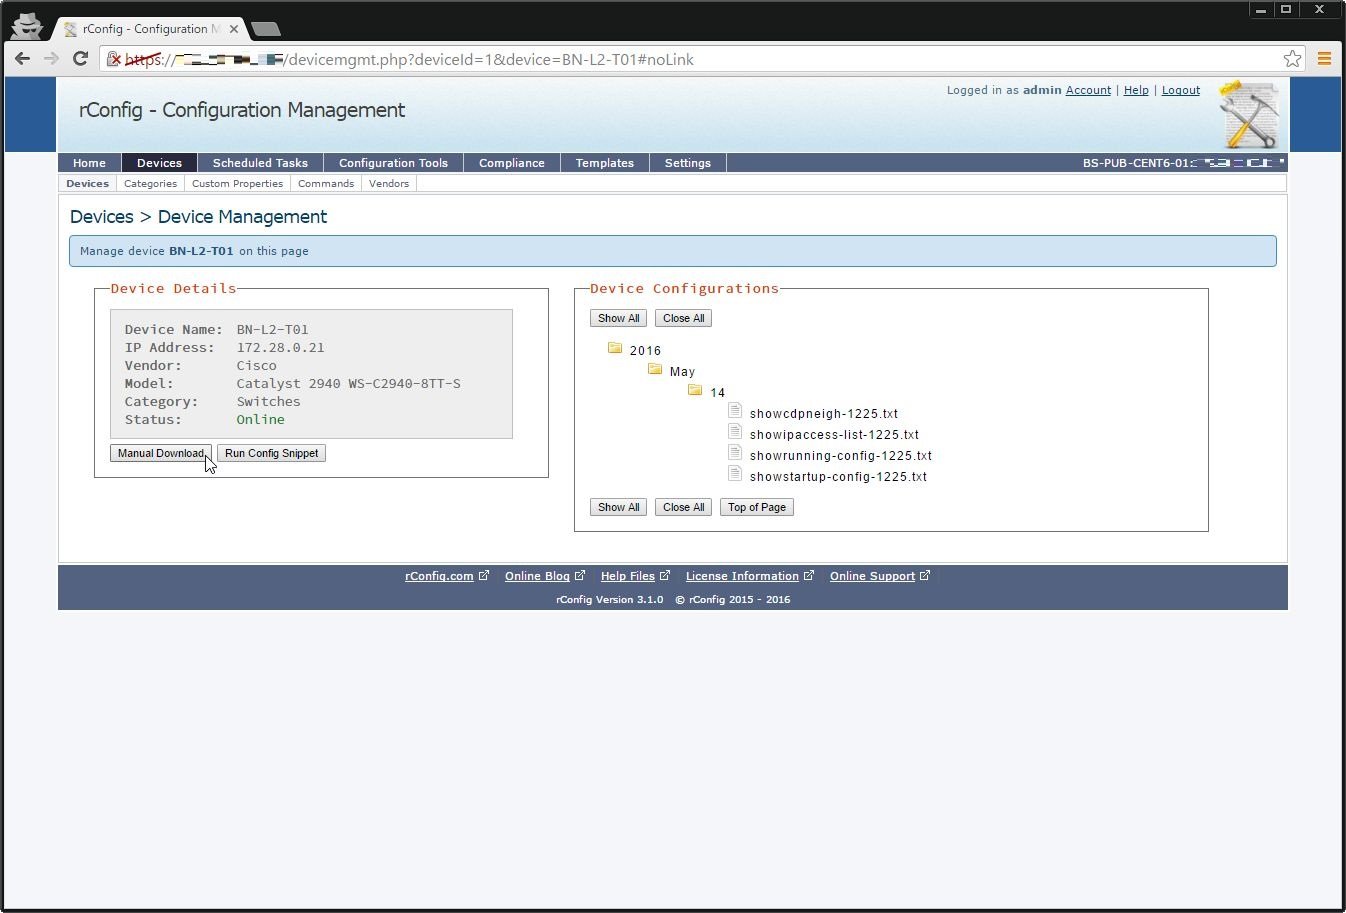
設定完了後、追加したデバイスを選択して「Manual Download」ボタンを押下すると、configファイルを日付ごとのディレクトリに分けてダウンロードしてくれる。
configの中身を見たい場合は、そのファイルをクリックするとポップアップで中身を見ることができる。
その他、コマンドを追加したりスケジュールを決めてコマンドを実行させたりできるようで、かなり便利そうだ。
既存のネットワーク機器の設定ファイルやレポート取得を一元管理できるとなると、社内インフラとかで活躍できそう。
惜しむらくは、CentOS 7でのインストールがだいぶ面倒そうという点と、アカウント登録しないとダウンロードできないトコだろうか。。。

