
DropBoxライクな環境を自前で構築するミドルウェアといえばOwnCloudが有名だが、今回インストールする『Paperwork』はEvernoteライクな環境を自前で構築できるミドルウェアだ。
残念ながら、現時点ではまだiPhoneなどのクライアントは作成されていないようだが、webブラウザから編集するくらいなら問題なく利用できる。一応、こちらにデモがある(ID/PW: cloudron/cloudron)。
今回は、この『Paperwork』をUbuntu 14.04 LTSにインストールする。
1.Paperworkのインストール
前提となるパッケージを以下のコマンドでインストールする。
sudo apt-get update
sudo apt-get install -y mysql-server php5-mysql nginx php5-fpm curl wget git php5-cli php5-gd php5-mcrypt nodejs nodejs-legacy
phpの設定ファイルに追記をする。
sudo sh -c 'echo "extension=mcrypt.so" >> /etc/php5/fpm/php.ini'
sudo sh -c 'echo "extension=mcrypt.so" >> /etc/php5/cli/php.ini'
composerをインストールする。
curl -sS https://getcomposer.org/installer | php
sudo mv composer.phar /usr/local/bin/composer
ディレクトリを作成し、Paperworkをダウンロード、インストールを行う。
sudo mkdir /var/www/
cd /var/www/
sudo git clone https://github.com/twostairs/paperwork.git
cd ./paperwork/frontend/
sudo composer install
インストールしたmysqlに接続し、以下のSQLを実行する。
DROP DATABASE IF EXISTS paperwork;
CREATE DATABASE IF NOT EXISTS paperwork DEFAULT CHARACTER SET utf8 COLLATE utf8_general_ci;
GRANT ALL PRIVILEGES ON paperwork.* TO 'paperwork'@'localhost' IDENTIFIED BY 'paperwork' WITH GRANT OPTION;
FLUSH PRIVILEGES;
quit
blacknon@BS-PUB-UBUNTU-01:~$ mysql -u root -p -h 127.0.0.1
Enter password:
Welcome to the MySQL monitor. Commands end with ; or \g.
Your MySQL connection id is 45
Server version: 5.5.49-0ubuntu0.14.04.1 (Ubuntu)
Copyright (c) 2000, 2016, Oracle and/or its affiliates. All rights reserved.
Oracle is a registered trademark of Oracle Corporation and/or its
affiliates. Other names may be trademarks of their respective
owners.
Type 'help;' or '\h' for help. Type '\c' to clear the current input statement.
mysql> DROP DATABASE IF EXISTS paperwork;
Query OK, 0 rows affected, 1 warning (0.00 sec)
mysql> CREATE DATABASE IF NOT EXISTS paperwork DEFAULT CHARACTER SET utf8 COLLATE utf8_general_ci;
Query OK, 1 row affected (0.00 sec)
mysql> GRANT ALL PRIVILEGES ON paperwork.* TO 'paperwork'@'localhost' IDENTIFIED BY 'paperwork' WITH GRANT OPTION;
Query OK, 0 rows affected (0.00 sec)
mysql> FLUSH PRIVILEGES;
Query OK, 0 rows affected (0.00 sec)
mysql> quit
Byeスキーマを用いてデータベースの設定を行う。
cd /var/www/paperwork/frontend/
sudo php artisan migrate
blacknon@BS-PUB-UBUNTU-01:~$ cd /var/www/paperwork/frontend/
blacknon@BS-PUB-UBUNTU-01:/var/www/paperwork/frontend$ sudo php artisan migrate
[sudo] password for blacknon:
**************************************
* Application In Production! *
**************************************
Do you really wish to run this command? yes
Migration table created successfully.
Migrated: 2014_07_22_194050_initialize
Migrated: 2014_07_24_103915_create_password_reminders_table
Migrated: 2014_10_08_203732_add_visibility_to_tags_table
Migrated: 2015_01_21_034728_add_admin_to_users
Migrated: 2015_05_05_094021_modify_tag_user_relation
Migrated: 2015_05_22_220540_add_version_user_relation
Migrated: 2015_06_15_224221_add_tag_parent
Migrated: 2015_06_30_125536_add_sessions_table
Migrated: 2015_07_29_130508_alter_versions
ディレクトリの権限を変更する。
sudo chown www-data:www-data -R /var/www/Nginxの設定ファイル「/etc/nginx/sites-available/default」を作りなおす。
sudo mv /etc/nginx/sites-available/default{,.bk}
sudo sh -c "cat <<EOF > /etc/nginx/sites-available/default
server {
        listen   80;
        # listen 443 ssl;

        root /var/www/paperwork/frontend/public;
        index index.php index.html index.htm;

        server_name example.com;

        # server_name example.com;
        # ssl_certificate /etc/nginx/ssl/server.crt;
        # ssl_certificate_key /etc/nginx/ssl/server.key;

        location / {
                try_files $uri $uri/ /index.php;
        }

        error_page 404 /404.html;

        error_page 500 502 503 504 /50x.html;
        location = /50x.html {
              root /usr/share/nginx/www;
        }

        # pass the PHP scripts to FastCGI server listening on the php-fpm socket
        location ~ \.php$ {
                try_files $uri =404;
                fastcgi_pass unix:/var/run/php5-fpm.sock;
                fastcgi_index index.php;
                fastcgi_param SCRIPT_FILENAME $document_root$fastcgi_script_name;
                include fastcgi_params;

        }

}
EOF"
npm等のインストールを行う。
sudo wget https://www.npmjs.org/install.sh
sudo bash ./install.sh
sudo npm install -g gulp bower
sudo npm install
sudo bower install --allow-root
sudo gulp
すべての作業が終わったら、一度OSを再起動する。
Nginxとphpをサービス起動して、インストールは完了。
sudo service nginx start
sudo service php5-fpm restart
念のため、自動起動設定もしておく。
sudo apt-get install sysv-rc-conf
sudo sysv-rc-conf nginx on
sudo sysv-rc-conf php5-fpm on
2.Webブラウザからアクセスする
インストール作業が終わったら、Webブラウザからアクセスする。
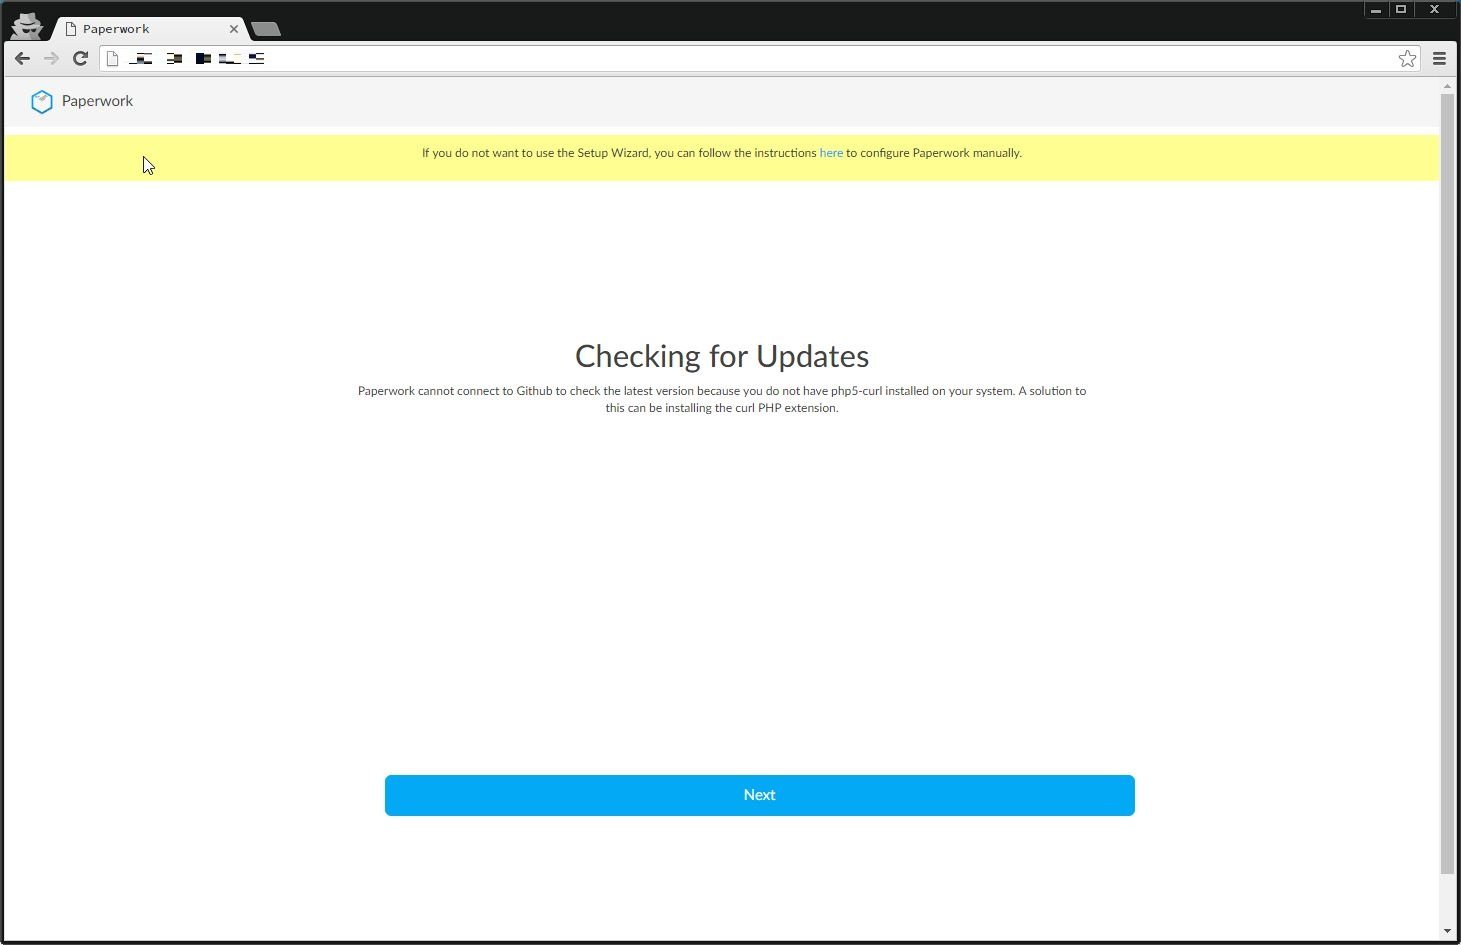
DBへの接続情報を記述する。
記述後、(ちょっと見えにくいけど)「Check Connection ~」のボタンを押下して接続確認を行う。

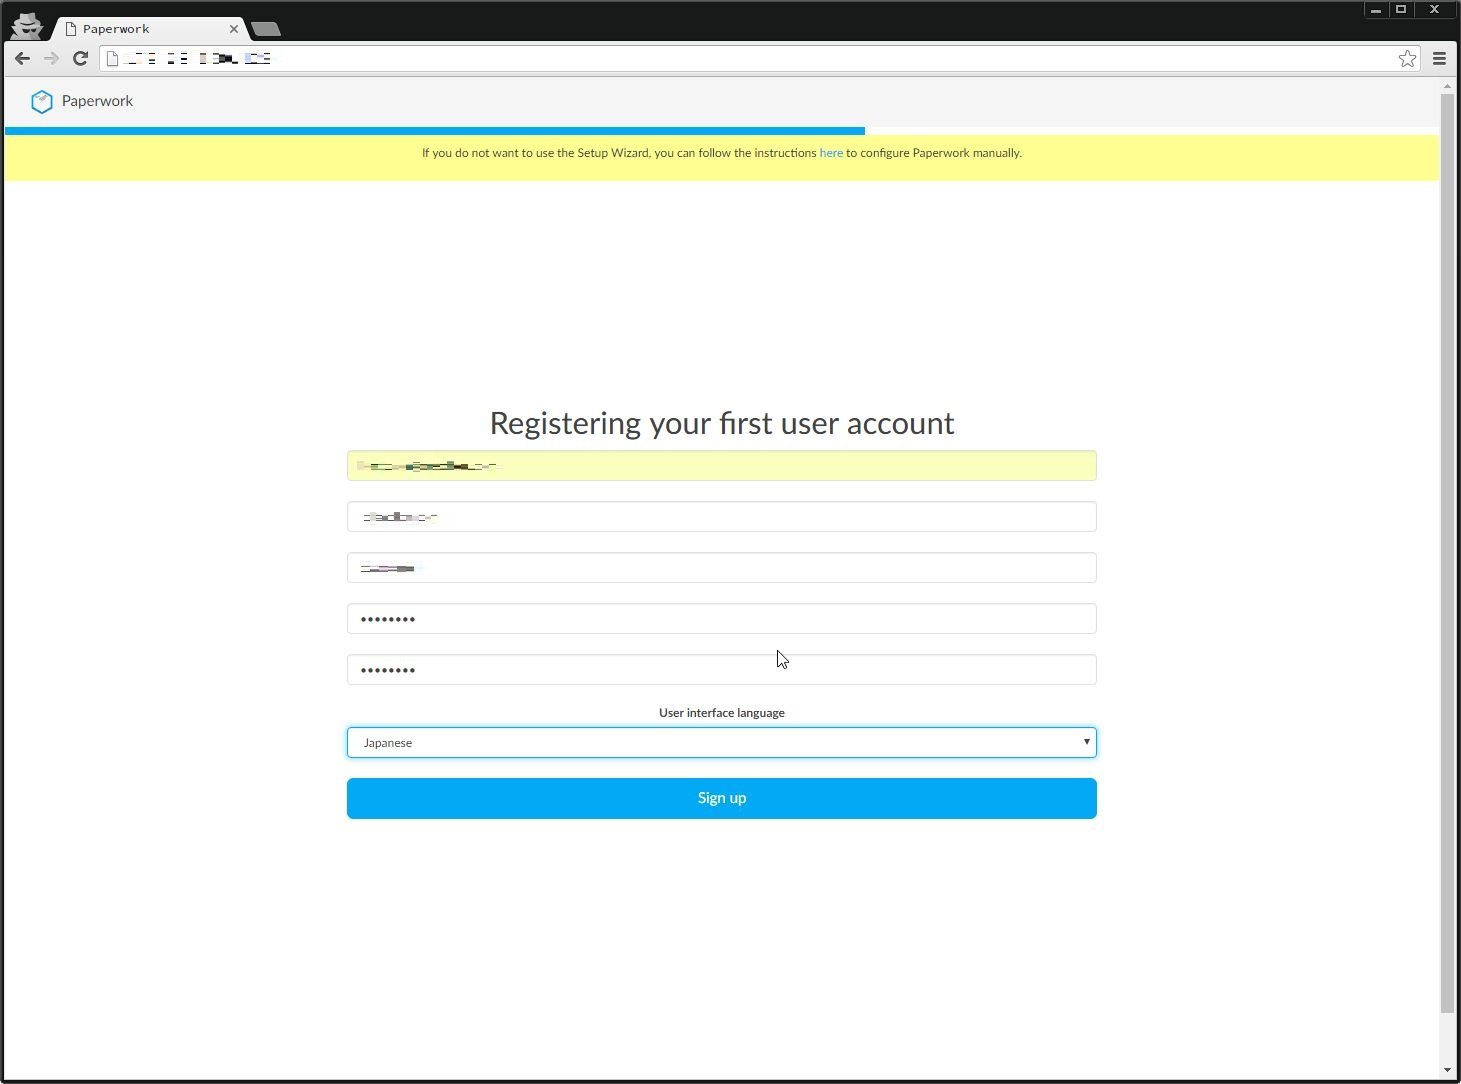
接続に問題がなければ、管理者アカウントの作成を行う。
無事完了。
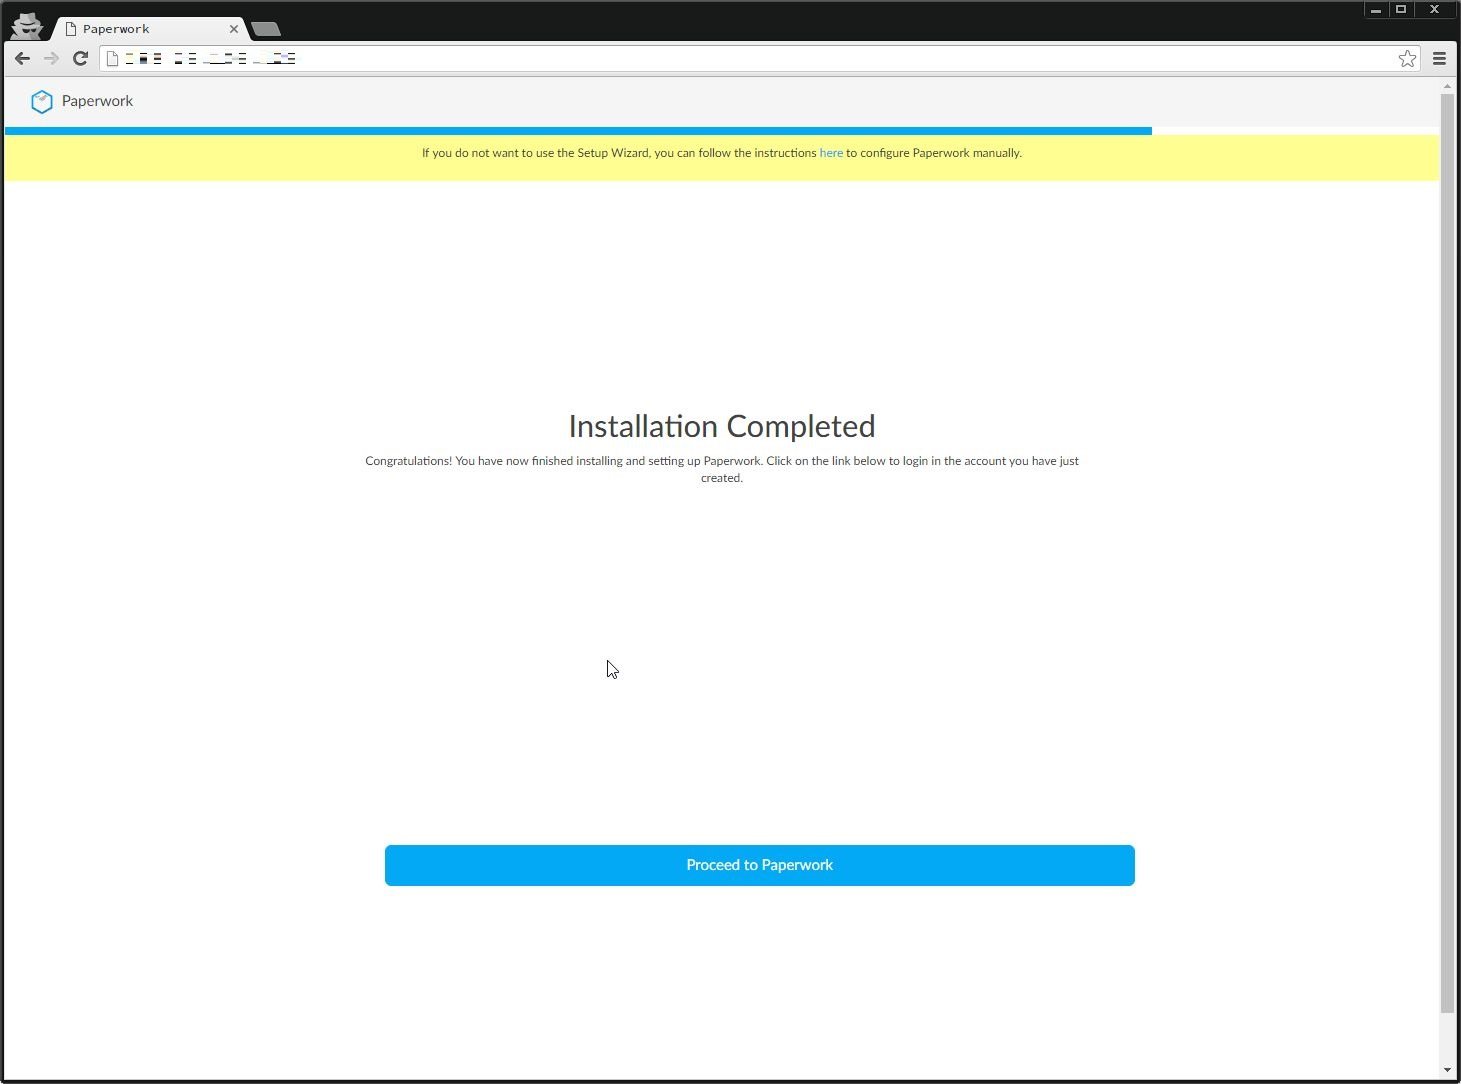
自動でログイン画面に遷移する。
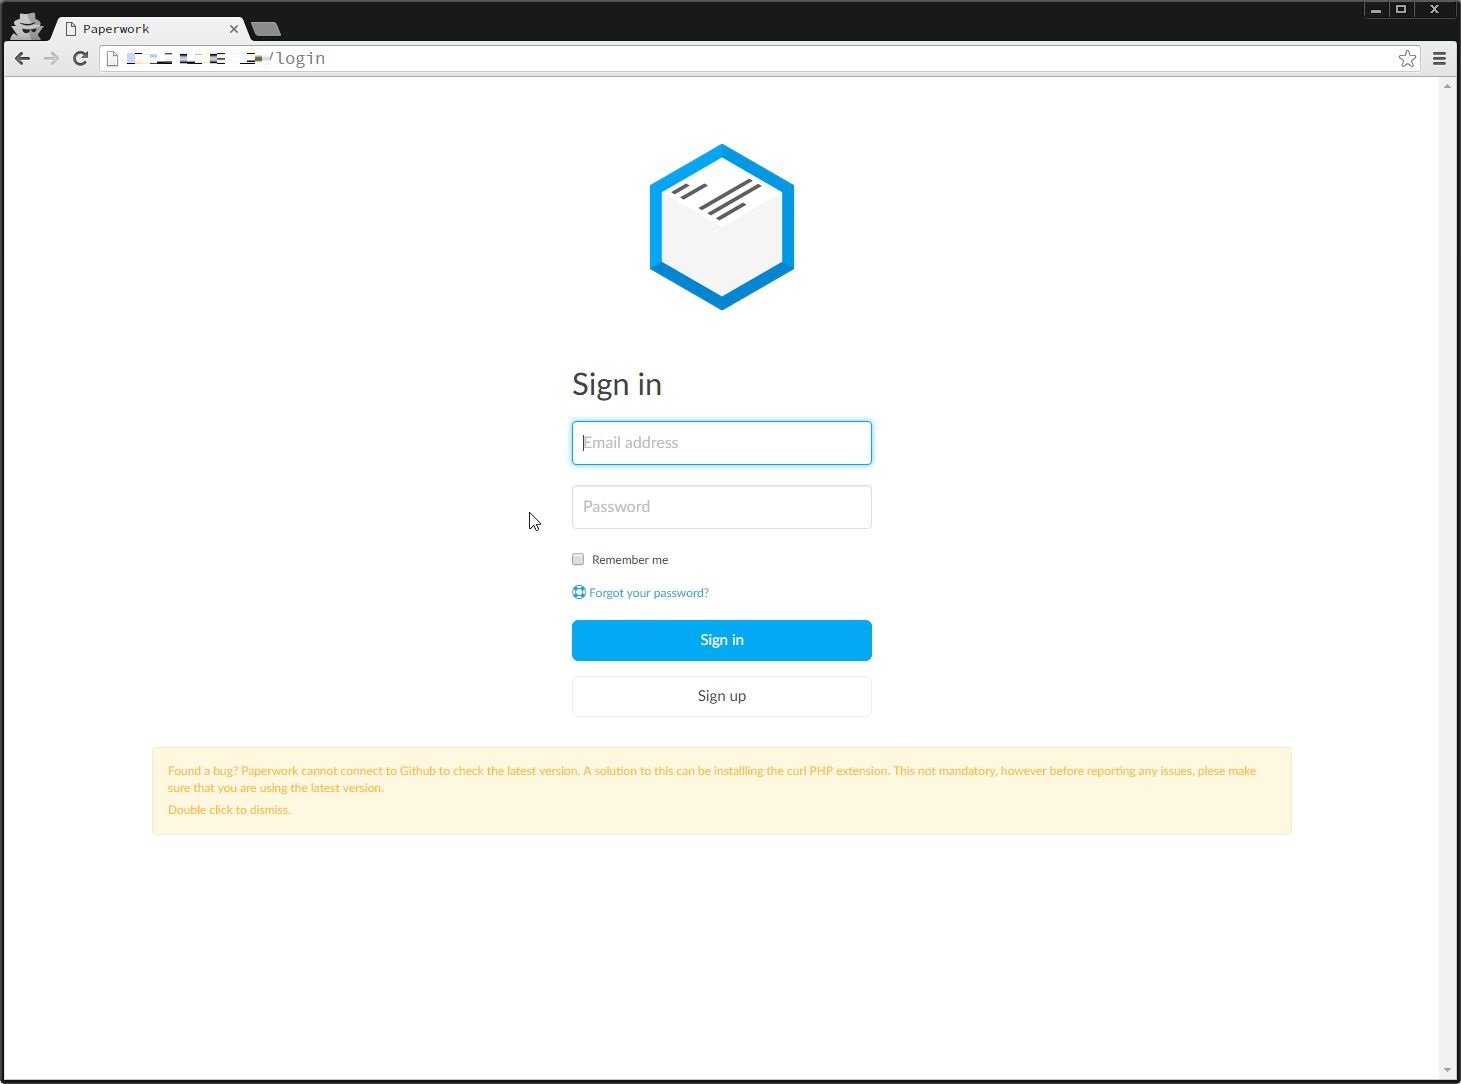
これで無事インストールができた。
iOSとかWindows用のクライアントがあるとなお良いが、それはまた先だろうか。

