前回、CentOS 7で『Google Authenticator』によるワンタイムパスワードの二重認証(二要素認証)について設定したので、今回はUbuntu 16.04 LTSでの設定。
といっても、基本的な設定方法は変わらないので、普通に進めていく。
なお、すでに公開鍵認証の設定は済んでいるものとする。
1.Google Authenticatorのインストール
まずは、『Google Authenticator』のインストール。
Ubuntuではapt-getでそのままインストールができる。以下のコマンドを実行する。
sudo apt-get install libpam-google-authenticatorこれで、『Google Authenticator』のインストールができた。
2.sshdの設定変更
sshdの設定ファイル「/etc/ssh/sshd_config」を編集する。
sudo sed -i -e '/^ChallengeResponseAuthentication/s/no/yes/g' /etc/ssh/sshd_config
sudo sed -i "\$a AuthenticationMethods publickey,keyboard-interactive" /etc/ssh/sshd_config
次に、sshdのPAM設定ファイル「/etc/pam.d/sshd」を編集する。
sudo sed -i "\$a auth required pam_google_authenticator.so" /etc/pam.d/sshd3.Google Authenticatorの設定・準備
最後に、以下のコマンドを実行し、iPhoneやAndroidから『Google Authenticator』のアプリを起動して表示されるQRコードを読み取ってアカウントを登録するだけだ。
表示される問いは、すべてyで構わない。
google-authenticatorこれで設定は完了。sshdを再起動させる。
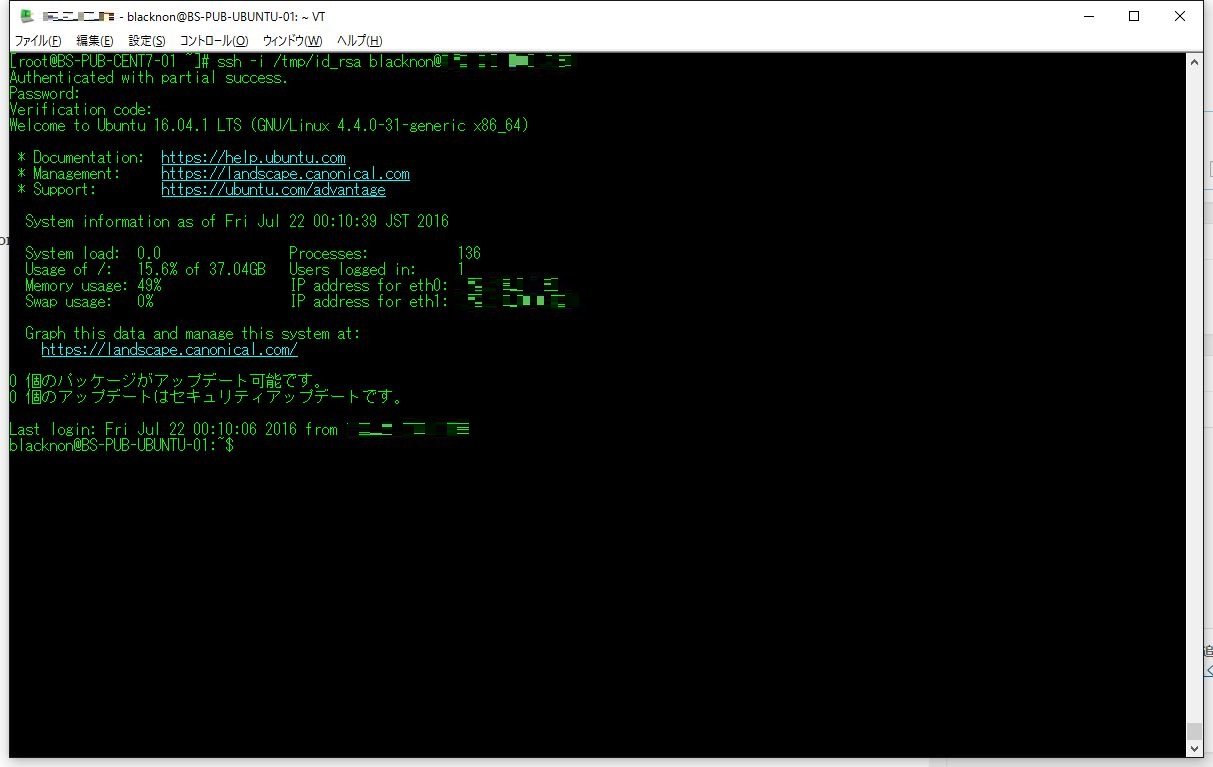
sudo service sshd restart4.sshでログインする
後は、ふつうにsshでログインを実施するだけだ。