
疎通確認コマンドといえば、OSに標準で搭載されているpingコマンドを用いることが多いと思う。 しかし、pingは1回のコマンドで1ホストに対して疎通確認を行う。そのため、大量のホストに対しfor文などで疎通確認を行う場合、1ホスト1ホストに対し確認を進めていく事から結構な時間がかかってしまう。
そこで、オープンソースの監視ツール『Zabiix』で疎通監視に使われている、同時並行でpingを行ってくれるコマンド「fping」について記述することにする。
1.インストール
まずはインストールから。 各OSごとにインストールを行う。
Debian/Ubuntu
以下のコマンドを実行することでインストールできる。
apt-get install fpingRHEL系Linux
以下のコマンドを実行することでインストールできる。
yum install fpingWindows
こちらのリンクからzipファイルをダウンロードし、自身のOSにあわせてx64、x86のフォルダ内にある実行ファイルをPATHの通っている場所(「C:\Windows」フォルダなど)にコピーする。
2.コマンド実行
さて、まずはfpingのヘルプを見てみよう。 ヘルプはLinuxの内容を表示させている。
test@Test-Ubuntu001:~$ fping --help
fping: invalid option -- '-'

Usage: fping [options] [targets...]
-a show targets that are alive
-A show targets by address
-b n amount of ping data to send, in bytes (default 56)
-B f set exponential backoff factor to f
-c n count of pings to send to each target (default 1)
-C n same as -c, report results in verbose format
-D print timestamp before each output line
-e show elapsed time on return packets
-f file read list of targets from a file ( - means stdin) (only if no -g specified)
-g generate target list (only if no -f specified)
(specify the start and end IP in the target list, or supply a IP netmask)
(ex. fping -g 192.168.1.0 192.168.1.255 or fping -g 192.168.1.0/24)
-H n Set the IP TTL value (Time To Live hops)
-i n interval between sending ping packets (in millisec) (default 25)
-l loop sending pings forever
-m ping multiple interfaces on target host
-n show targets by name (-d is equivalent)
-p n interval between ping packets to one target (in millisec)
(in looping and counting modes, default 1000)
-q quiet (don't show per-target/per-ping results)
-Q n same as -q, but show summary every n seconds
-r n number of retries (default 3)
-s print final stats
-I if bind to a particular interface
-S addr set source address
-t n individual target initial timeout (in millisec) (default 500)
-T n ignored (for compatibility with fping 2.4)
-u show targets that are unreachable
-O n set the type of service (tos) flag on the ICMP packets
-v show version
targets list of targets to check (if no -f specified)
test@Test-Ubuntu001:~$
それでは、実際に使ってみよう。 fpingでは、対象となるホスト名(IPアドレス)を記述したファイルを参照させてpingを並行実施させていく。 以下の例では、ホスト名を記述した「hostip.list」をfpingで実行させている。
root@Test-Ubuntu001:/home/test# cat hostip.list
192.168.0.1
192.168.0.2
192.168.0.3
192.168.0.4
192.168.0.5
192.168.0.30
192.168.0.31
192.168.0.32
192.168.0.33
192.168.0.34
192.168.0.35
root@Test-Ubuntu001:/home/test# fping -f hostip.list
192.168.0.1 is alive
192.168.0.30 is alive
192.168.0.33 is alive
ICMP Host Unreachable from 192.168.0.30 for ICMP Echo sent to 192.168.0.2
ICMP Host Unreachable from 192.168.0.30 for ICMP Echo sent to 192.168.0.2
ICMP Host Unreachable from 192.168.0.30 for ICMP Echo sent to 192.168.0.2
ICMP Host Unreachable from 192.168.0.30 for ICMP Echo sent to 192.168.0.2
ICMP Host Unreachable from 192.168.0.30 for ICMP Echo sent to 192.168.0.3
ICMP Host Unreachable from 192.168.0.30 for ICMP Echo sent to 192.168.0.3
ICMP Host Unreachable from 192.168.0.30 for ICMP Echo sent to 192.168.0.3
ICMP Host Unreachable from 192.168.0.30 for ICMP Echo sent to 192.168.0.3
ICMP Host Unreachable from 192.168.0.30 for ICMP Echo sent to 192.168.0.4
ICMP Host Unreachable from 192.168.0.30 for ICMP Echo sent to 192.168.0.4
ICMP Host Unreachable from 192.168.0.30 for ICMP Echo sent to 192.168.0.4
ICMP Host Unreachable from 192.168.0.30 for ICMP Echo sent to 192.168.0.4
ICMP Host Unreachable from 192.168.0.30 for ICMP Echo sent to 192.168.0.5
ICMP Host Unreachable from 192.168.0.30 for ICMP Echo sent to 192.168.0.5
ICMP Host Unreachable from 192.168.0.30 for ICMP Echo sent to 192.168.0.5
ICMP Host Unreachable from 192.168.0.30 for ICMP Echo sent to 192.168.0.5
ICMP Host Unreachable from 192.168.0.30 for ICMP Echo sent to 192.168.0.31
ICMP Host Unreachable from 192.168.0.30 for ICMP Echo sent to 192.168.0.31
ICMP Host Unreachable from 192.168.0.30 for ICMP Echo sent to 192.168.0.31
ICMP Host Unreachable from 192.168.0.30 for ICMP Echo sent to 192.168.0.31
ICMP Host Unreachable from 192.168.0.30 for ICMP Echo sent to 192.168.0.32
ICMP Host Unreachable from 192.168.0.30 for ICMP Echo sent to 192.168.0.32
ICMP Host Unreachable from 192.168.0.30 for ICMP Echo sent to 192.168.0.32
ICMP Host Unreachable from 192.168.0.30 for ICMP Echo sent to 192.168.0.32
ICMP Host Unreachable from 192.168.0.30 for ICMP Echo sent to 192.168.0.34
ICMP Host Unreachable from 192.168.0.30 for ICMP Echo sent to 192.168.0.34
ICMP Host Unreachable from 192.168.0.30 for ICMP Echo sent to 192.168.0.34
ICMP Host Unreachable from 192.168.0.30 for ICMP Echo sent to 192.168.0.34
ICMP Host Unreachable from 192.168.0.30 for ICMP Echo sent to 192.168.0.35
ICMP Host Unreachable from 192.168.0.30 for ICMP Echo sent to 192.168.0.35
ICMP Host Unreachable from 192.168.0.30 for ICMP Echo sent to 192.168.0.35
ICMP Host Unreachable from 192.168.0.30 for ICMP Echo sent to 192.168.0.35
192.168.0.2 is unreachable
192.168.0.3 is unreachable
192.168.0.4 is unreachable
192.168.0.5 is unreachable
192.168.0.31 is unreachable
192.168.0.32 is unreachable
192.168.0.34 is unreachable
192.168.0.35 is unreachable
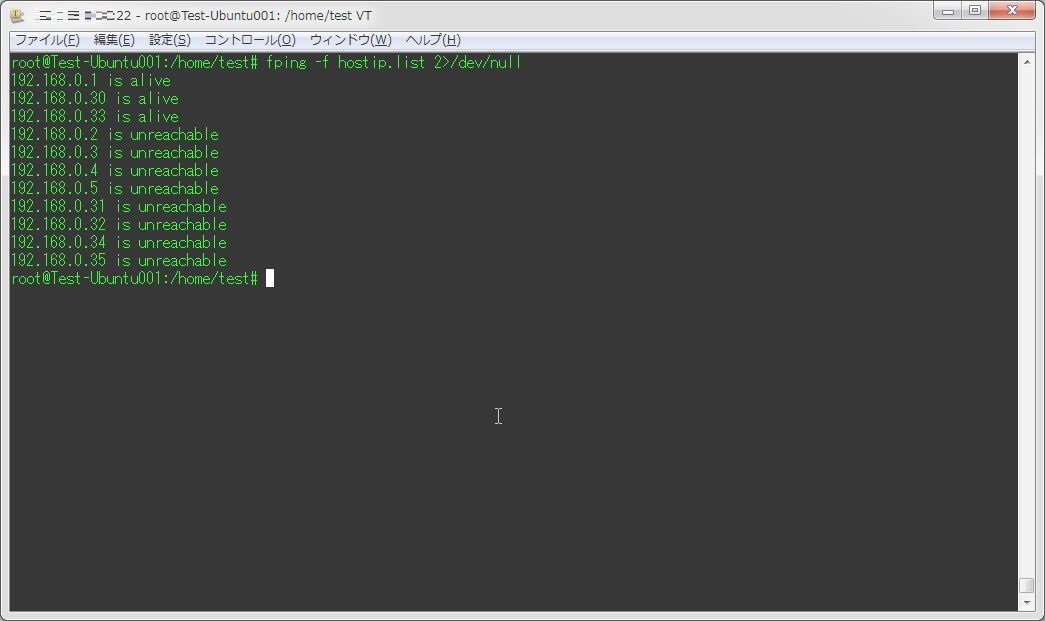
root@Test-Ubuntu001:/home/test#この時表示される「ICMP~」から始まるメッセージを非表示にする場合は、「2>/dev/null」をつけてコマンドを実行すればいい。
root@Test-Ubuntu001:/home/test# fping -f hostip.list 2>/dev/null
192.168.0.1 is alive
192.168.0.30 is alive
192.168.0.33 is alive
192.168.0.2 is unreachable
192.168.0.3 is unreachable
192.168.0.4 is unreachable
192.168.0.5 is unreachable
192.168.0.31 is unreachable
192.168.0.32 is unreachable
192.168.0.34 is unreachable
192.168.0.35 is unreachable
root@Test-Ubuntu001:/home/test#
うーん、結構便利かも。「-l」オプションをつければ連続確認も行えるし。

