
さて、ここのとこCentOS 7に監視系のツールを入れていろいろと試しているところなのだが、今回はObserviumという、Google Mapとかも表示させられてグラフもキレイ、かつSNMP経由で監視する、というツールを見かけたので、これを入れてみる事にする。
親切な事に、スクリーンショットはこちら、デモページはこちらに用意されている。
手順についても、基本的にこちらに用意されている。
今回は、この手順を参考にインストールを進めていく。
1.インストール・初期設定
さて、それではまずは前提となるパッケージを入れていこう。
sshdは最初から入っているものとして割愛。
とりあえず、先にSELinux/Firewalldの設定をしておこう。
setenforce 0
sed -i.bak "/SELINUX/s/enforcing/disabled/g" /etc/selinux/config
firewall-cmd --permanent --zone=public --add-service=http
firewall-cmd --reload
以下のコマンドを実行し、リポジトリの登録と前提パッケージのインストールを実施する。
rpm --import http://apt.sw.be/RPM-GPG-KEY.dag.txt
rpm -Uvh http://pkgs.repoforge.org/rpmforge-release/rpmforge-release-0.5.3-1.el7.rf.x86_64.rpm
rpm -Uvh http://download.fedoraproject.org/pub/epel/7/x86_64/e/epel-release-7-5.noarch.rpm
yum install wget.x86_64 httpd.x86_64 php.x86_64 php-mysql.x86_64 php-gd.x86_64 php-posix \
php-mcrypt.x86_64 php-pear.noarch cronie.x86_64 net-snmp.x86_64 net-snmp-utils.x86_64 fping.x86_64 \
mariadb-server.x86_64 mariadb.x86_64 MySQL-python.x86_64 rrdtool.x86_64 subversion.x86_64 jwhois.x86_64 \
ipmitool.x86_64 graphviz.x86_64 ImageMagick.x86_64 libvirt.x86_64 -y
前提パッケージをインストールできたら、事前にMariaDBでデータベースの作成等の下準備を行っておこう。
まずは起動設定。
systemctl enable mariadb
systemctl start mariadb
mysql_secure_installationも行っておこう。
mysql_secure_installation[root@BS-PUB-MONITOR-07 opt]# mysql_secure_installation
/usr/bin/mysql_secure_installation: 行 379: find_mysql_client: コマンドが見つかりません
NOTE: RUNNING ALL PARTS OF THIS SCRIPT IS RECOMMENDED FOR ALL MariaDB
SERVERS IN PRODUCTION USE! PLEASE READ EACH STEP CAREFULLY!
In order to log into MariaDB to secure it, we'll need the current
password for the root user. If you've just installed MariaDB, and
you haven't set the root password yet, the password will be blank,
so you should just press enter here.
Enter current password for root (enter for none):
OK, successfully used password, moving on...
Setting the root password ensures that nobody can log into the MariaDB
root user without the proper authorisation.
Set root password? [Y/n]
New password:
Re-enter new password:
Password updated successfully!
Reloading privilege tables..
... Success!
By default, a MariaDB installation has an anonymous user, allowing anyone
to log into MariaDB without having to have a user account created for
them. This is intended only for testing, and to make the installation
go a bit smoother. You should remove them before moving into a
production environment.
Remove anonymous users? [Y/n]
... Success!
Normally, root should only be allowed to connect from 'localhost'. This
ensures that someone cannot guess at the root password from the network.
Disallow root login remotely? [Y/n]
... Success!
By default, MariaDB comes with a database named 'test' that anyone can
access. This is also intended only for testing, and should be removed
before moving into a production environment.
Remove test database and access to it? [Y/n]
- Dropping test database...
... Success!
- Removing privileges on test database...
... Success!
Reloading the privilege tables will ensure that all changes made so far
will take effect immediately.
Reload privilege tables now? [Y/n]
... Success!
Cleaning up...
All done! If you've completed all of the above steps, your MariaDB
installation should now be secure.
Thanks for using MariaDB!
データベースの作成を行う。
mysql -u root -pパスワード -e "CREATE DATABASE observium DEFAULT CHARACTER SET utf8 COLLATE utf8_general_ci;"
mysql -u root -pパスワード -e "GRANT ALL PRIVILEGES ON observium.* TO 'observium'@'localhost' IDENTIFIED BY 'Observium用パスワード';"
次に、Observiumのダウンロードを行う。
Observiumにはエディションが2つあるようで、CE(Community Edition)とSE(Subscription Edition)があるようだ。
今回は、CEをダウンロード、初期設定を行う。
mkdir -p /opt/observium && cd /opt
wget http://www.observium.org/observium-community-latest.tar.gz
tar zxvf observium-community-latest.tar.gz
cd /opt/observium/observium/
cp config.php.default config.php
sed -i -e 's/USERNAME/observium/g' -e 's/PASSWORD/Observium用パスワード/g' config.php
./discovery.php -u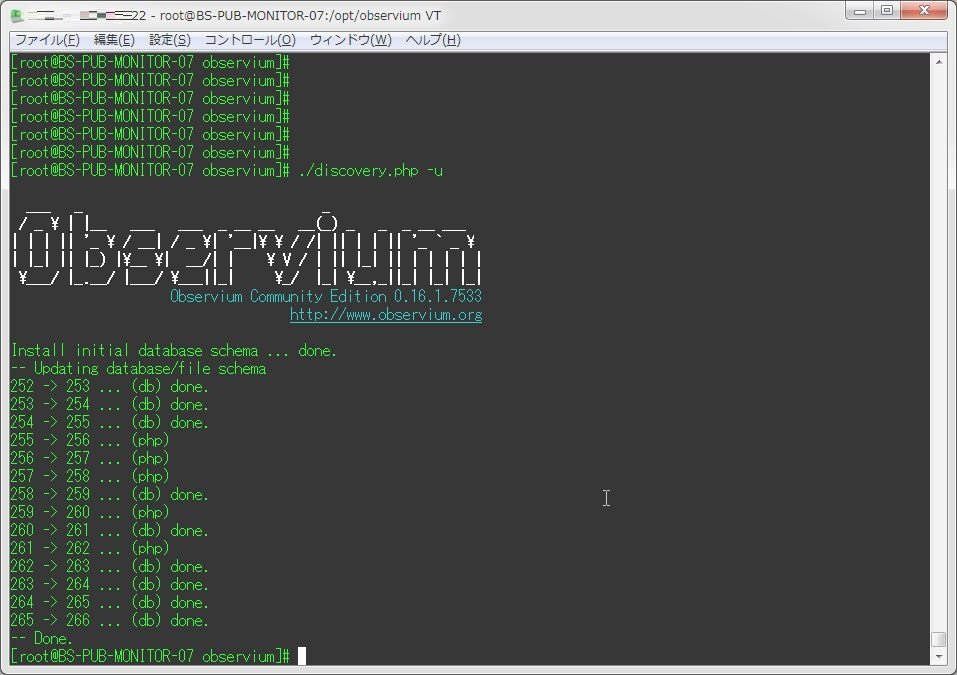
[root@BS-PUB-MONITOR-07 observium]# ./discovery.php -u

  ___   _                              _
 / _ \ | |__   ___   ___  _ __ __   __(_) _   _  _ __ ___
| | | || '_ \ / __| / _ \| '__|\ \ / /| || | | || '_ ` _ \
| |_| || |_) |\__ \|  __/| |    \ V / | || |_| || | | | | |
 \___/ |_.__/ |___/ \___||_|     \_/  |_| \__,_||_| |_| |_|
                    Observium Community Edition 0.16.1.7533
                                   http://www.observium.org

Install initial database schema ... done.
-- Updating database/file schema
252 -> 253 ... (db) done.
253 -> 254 ... (db) done.
254 -> 255 ... (db) done.
255 -> 256 ... (php)
256 -> 257 ... (php)
257 -> 258 ... (php)
258 -> 259 ... (db) done.
259 -> 260 ... (php)
260 -> 261 ... (db) done.
261 -> 262 ... (php)
262 -> 263 ... (db) done.
263 -> 264 ... (db) done.
264 -> 265 ... (db) done.
265 -> 266 ... (db) done.
-- Done.
次に、Apacheまわりの設定を追加する。
mkdir rrd
chown apache:apache rrd
cat << EOF >> /etc/httpd/conf.d/virtualhost.conf
<VirtualHost *:80>
   DocumentRoot /opt/observium/html/
   ServerName  obserniumサーバ名
   CustomLog /opt/observium/logs/access_log combined
   ErrorLog /opt/observium/logs/error_log
   <Directory "/opt/observium/html/">
     AllowOverride All
     Options FollowSymLinks MultiViews
     Require all granted
   </Directory>
</VirtualHost>
EOF
systemctl enable httpd
systemctl start httpd
ログを格納するディレクトリを作成する。
mkdir /opt/observium/logs
chown apache:apache /opt/observium/logs
ユーザを追加する。
一般ユーザはwebコンソールから作成できるので、とりあえずadminユーザ(level 10(管理者))にしてしまおう。
cd /opt/observium
./adduser.php admin adminパスワード 10
監視対象ホストを追加する。これも後からwebコンソールで出来る。
※実行時にSNMPの接続テストが行われるので、Linuxであれば事前にnet-snmpなどをインストールしておくこと。
./add_device.php 監視対象ホスト名 SNMPコミュニティ名 SNMPプロトコルバージョン(v1、v2c、v3。基本はv2c)新しく登録した監視対象ホストの情報取得テストを実施する。
./discovery.php -h all
./poller.php -h all
crontabに対し、定期的に情報取得スクリプトをキックするように記述する。
なお、どうやらcrontab -eで編集した場合だと正常に動作しないようなので、「/etc/crontab」もしくは「/etc/cron.d/observium」に記述する必要があるようだ。
以下、設定例。
33 */6 * * * root /opt/observium/discovery.php -h all >> /dev/null 2>&1
*/5 * * * * root /opt/observium/discovery.php -h new >> /dev/null 2>&1
*/5 * * * * root /opt/observium/poller-wrapper.py 2 >> /dev/null 2>&1
crontabに設定追加後、crondをリロードさせる。
systemctl reload crond設定ファイルに対し、fpingを監視するように設定を追加する。
echo "\$config['fping'] = \"$(which fping)\";" >> config.php2.監視対象ホストでの対応(CentOS 7での例)
一応、監視対象ホストでやることも記載しておく。
といっても大した事はしなくて良い。net-snmpをインストールするくらい(+SNMPコミュニティ名を変えるならその設定)だ。
yum -y install net-snmp net-snmp-utils
service snmpd start
chkconfig snmpd on
これでOK。
SNMPコミュニティ名はデフォルトで「public」となっている。
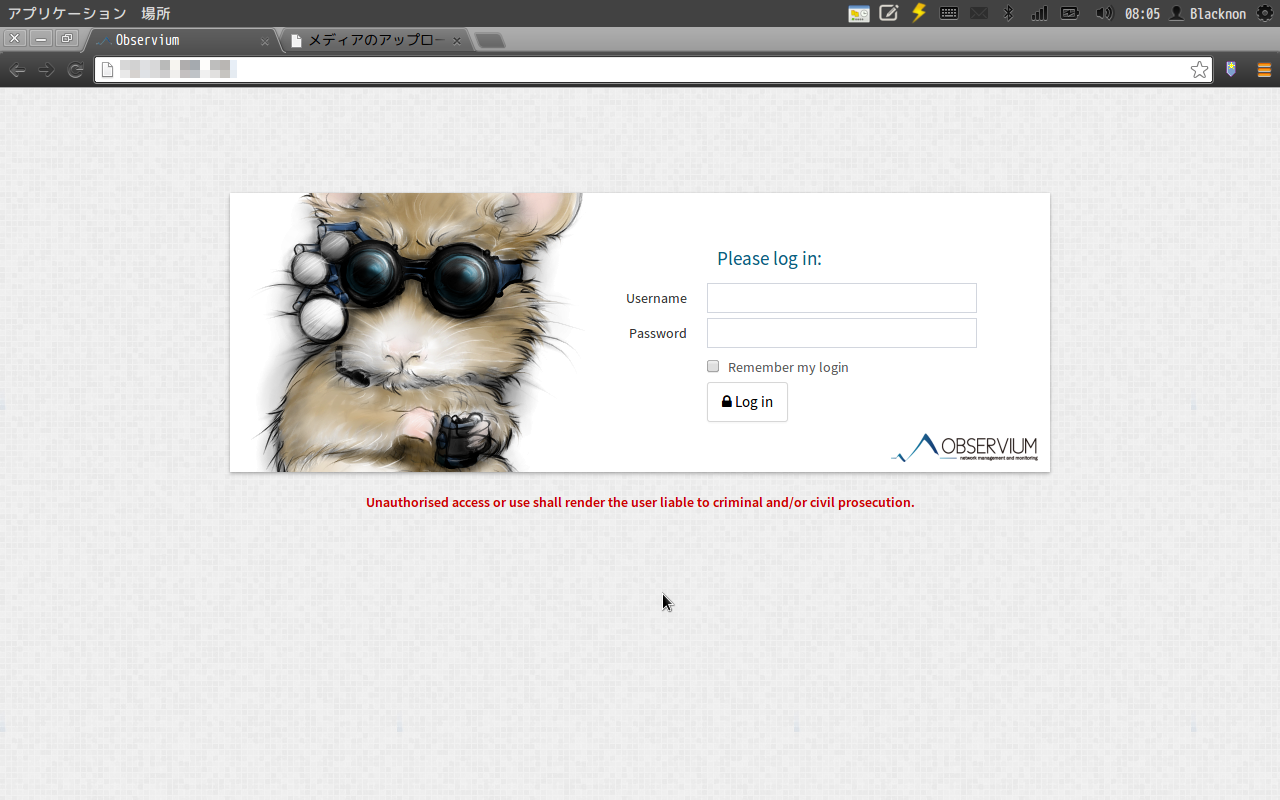
3.Webコンソールへアクセスする
さて、それではWebコンソール(http://ObserviumサーバIPアドレス)へアクセスしよう。
ログイン画面はデモページと同じみたいだ。早速、コンソールから作成したユーザでログインする。
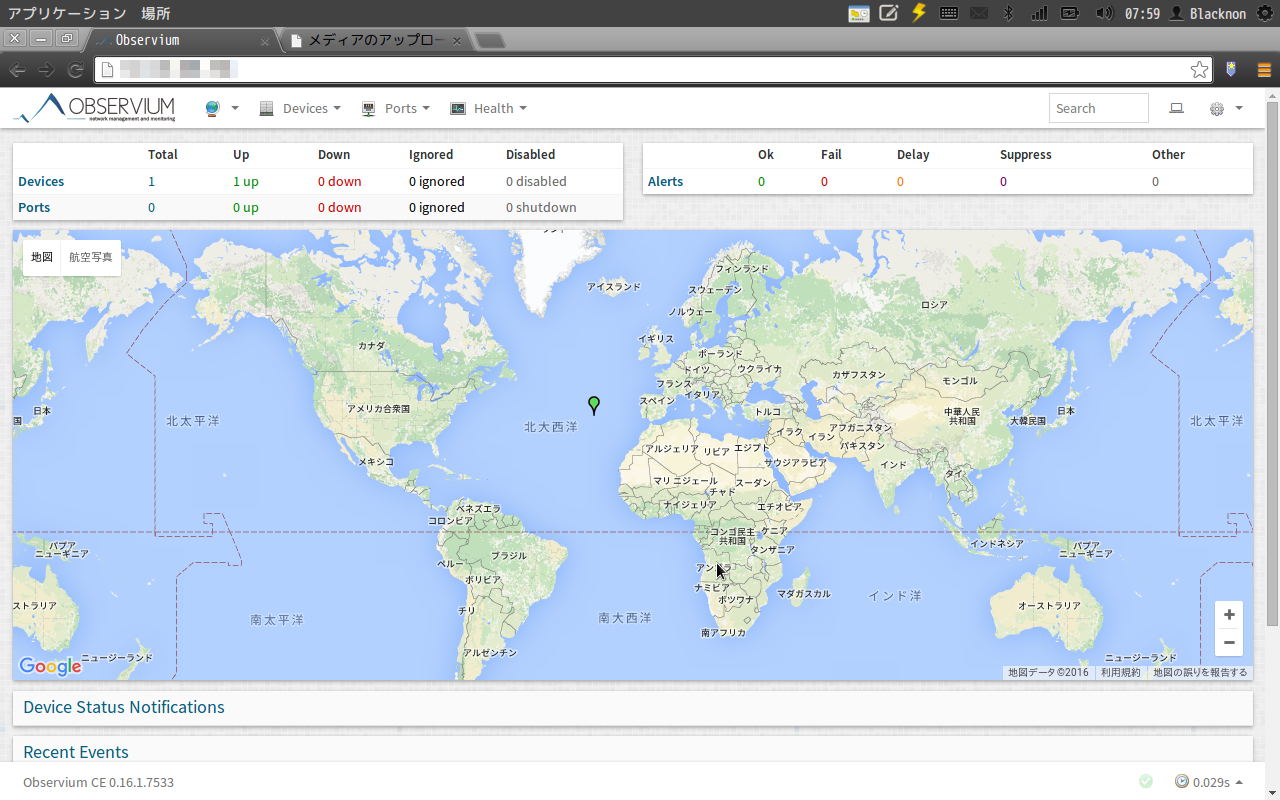
トップ画面。
現在の設定だと海のど真ん中にいることになっているようだw。
SNMPのロケーション情報を設定する必要がありそう…。
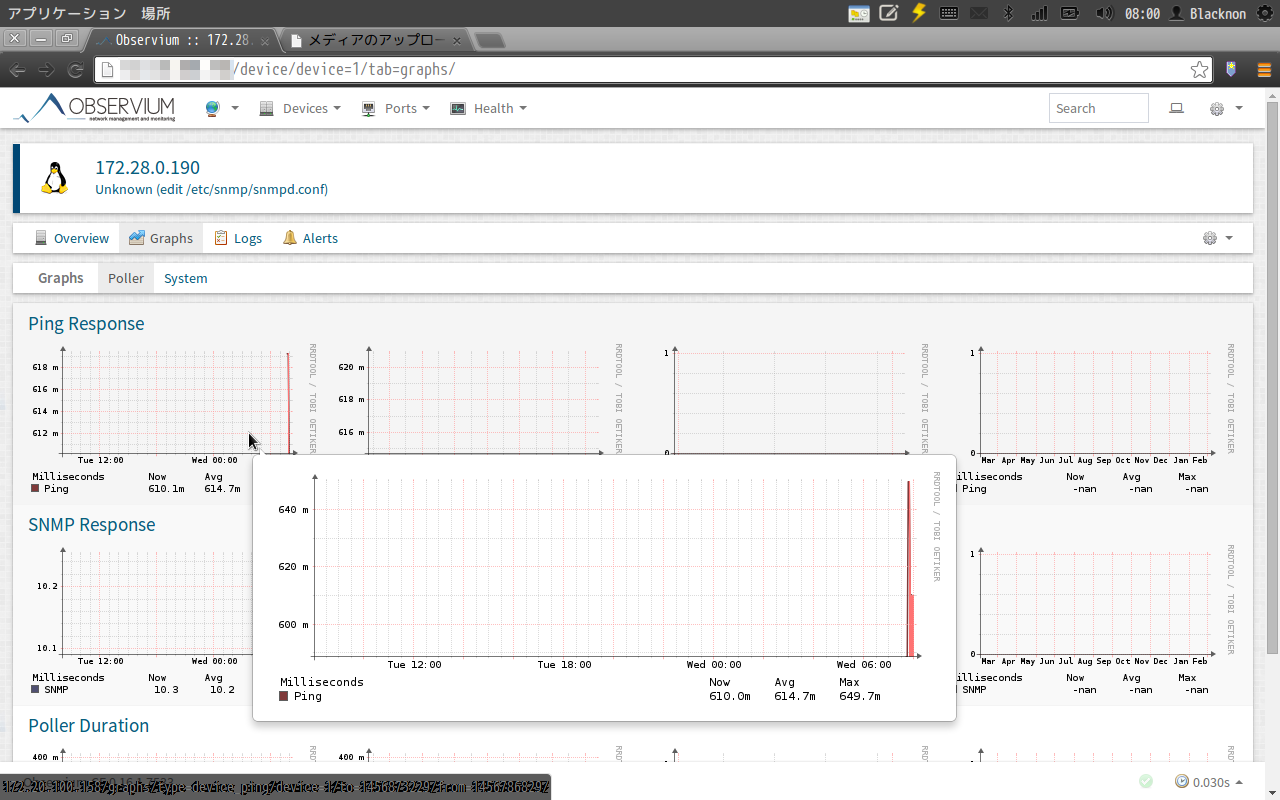
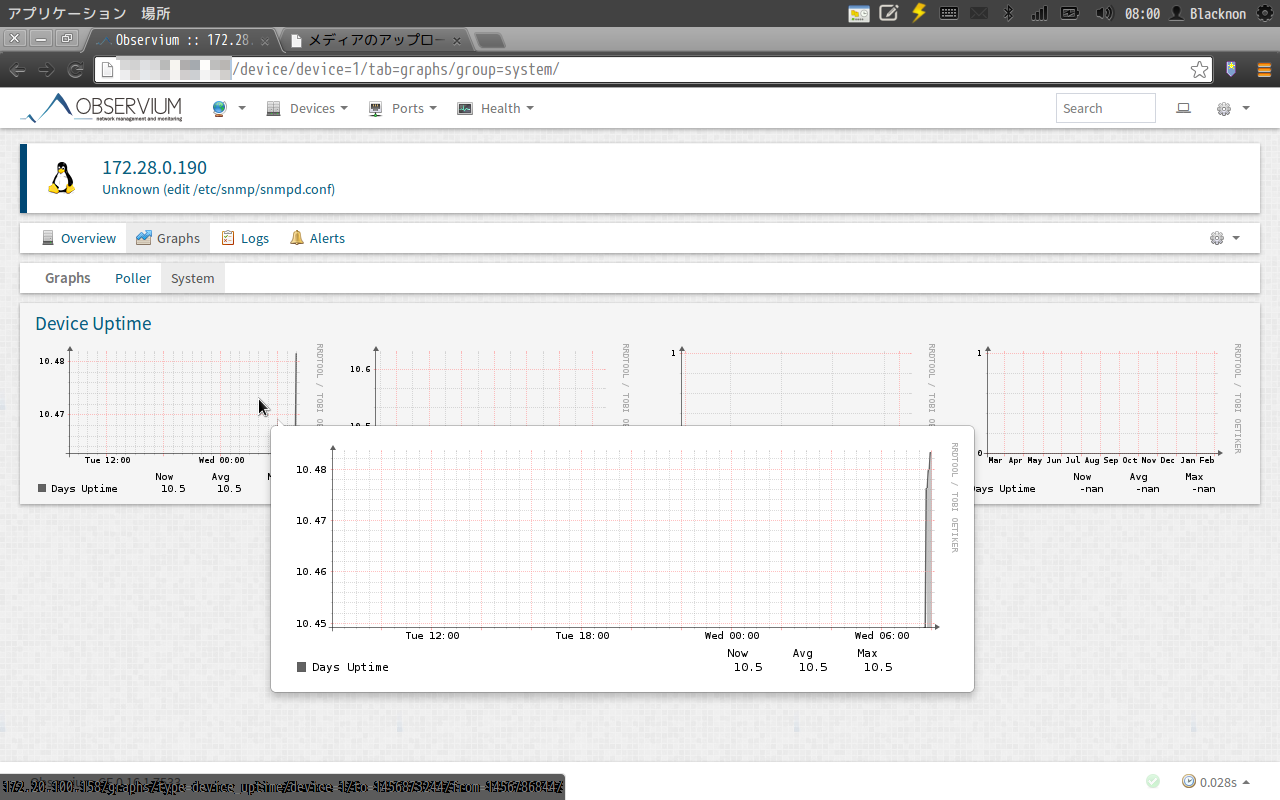
デバイス情報(監視対象サーバ)。
自動的にLinuxと認識してくれている。
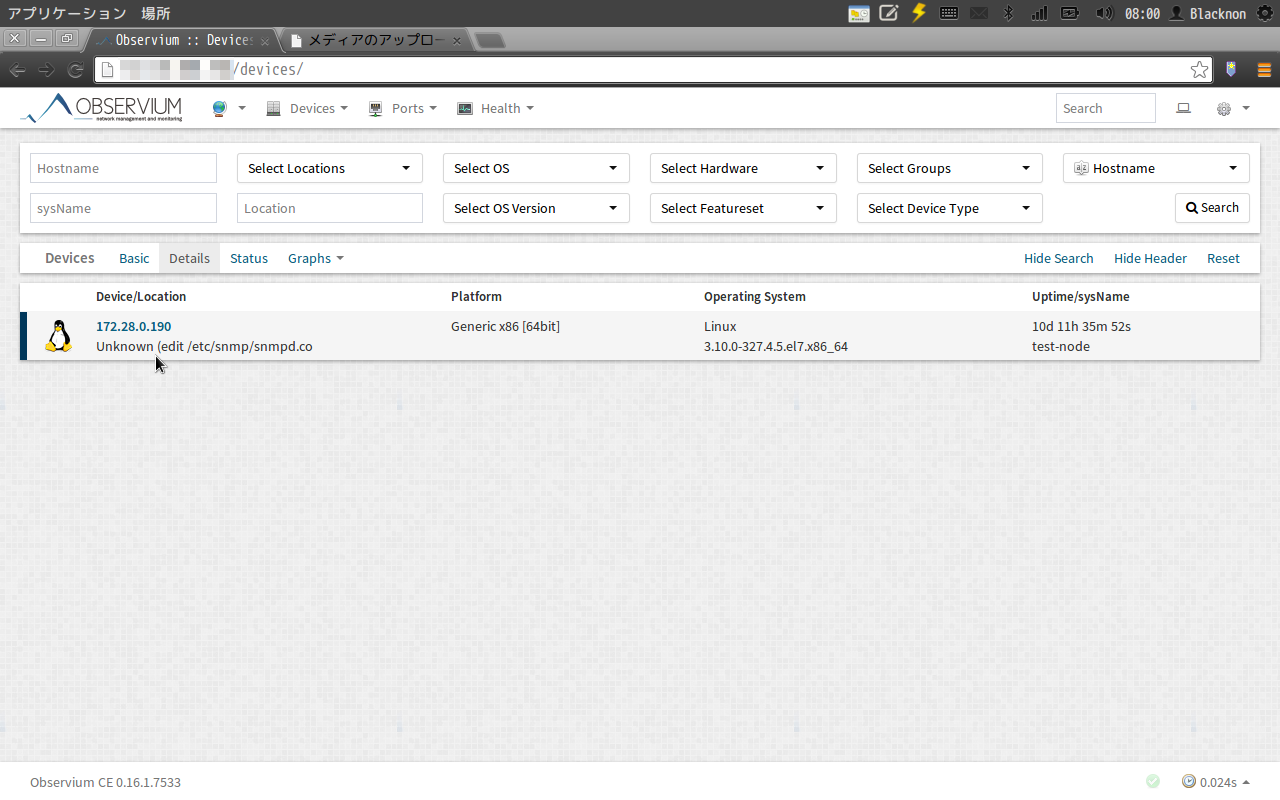
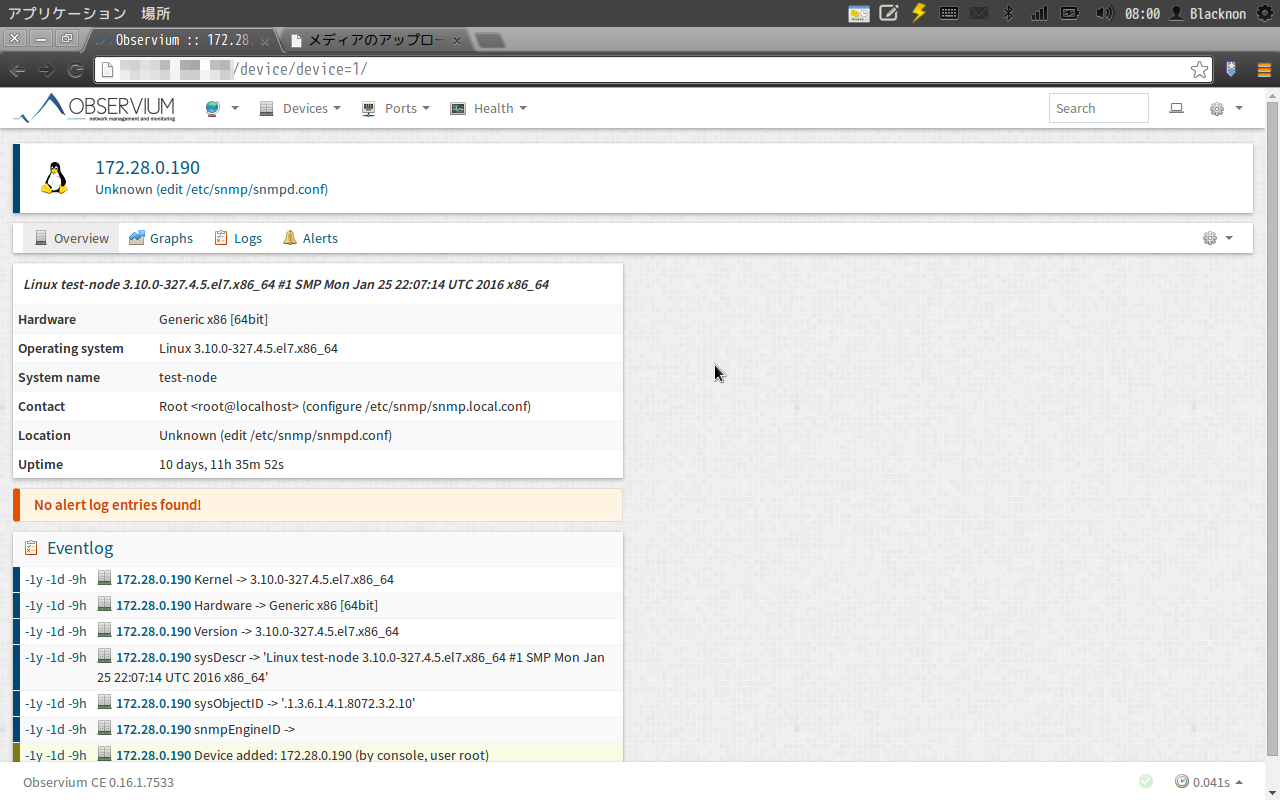
入れたばかりだから情報があまり貯まってないけど、グラフもちゃんと表示される。
いいなぁ…これすごいいいなぁ。
SNMPってことはネットワーク機器も監視できるわけだし、物理サーバのマネジメントポート経由での監視も可能のはずだ。
家の監視ツールとしては、かなり有力候補になっている。

