少し調べものをしていたところ、Webベースのリアルタイムにパフォーマンスをモニタできるツール『Netdata』というものを見かけたので、少し試してみることにする。
1.インストール
まずは、以下のコマンドで前提となるパッケージをインストールする。
sudo apt-get install zlib1g-dev gcc make git autoconf autogen automake pkg-config uuid-dev # Debian/Ubuntu系の場合
yum install zlib-devel gcc make git autoconf autogen automake pkgconfig psmisc libuuid-devel # CentOSなどRHEL系の場合
前提パッケージを導入したら、以下のコマンドでNetdataをインストール、起動する。
git clone https://github.com/firehol/netdata.git --depth=1
cd netdata
sudo ./netdata-installer.sh
[root@BS-PUB-WEBTOOL-TEST01 netdata]# sudo ./netdata-installer.sh
Welcome to netdata!
The real-time performance monitoring system.
You are about to build and install netdata to your system.
It will be installed at these locations:
- the daemon at /usr/sbin/netdata
- config files at /etc/netdata
- web files at /usr/share/netdata
- plugins at /usr/libexec/netdata
- cache files at /var/cache/netdata
- db files at /var/lib/netdata
- log files at /var/log/netdata
- pid file at /var/run
This installer allows you to change the installation path.
Press Control-C and run the same command with --help for help.
Press ENTER to build and install netdata to your system >
:-----------------------------------------------------------------------------
Running command:
./autogen.sh
autoreconf: Entering directory `.'
autoreconf: configure.ac: not using Gettext
...
-------------------------------------------------------------------------------
OK. NetData is installed and it is running.
-------------------------------------------------------------------------------
By default netdata listens on all IPs on port 19999,
so you can access it with:
http://this.machine.ip:19999/
To stop netdata, just kill it, with:
killall netdata
To start it, just run it:
/usr/sbin/netdata
Enjoy!
Uninstall script generated: ./netdata-uninstaller.sh
これでインストールが完了した。
2.Webブラウザからアクセス
さて、それではブラウザからアクセスしてみよう。
デフォルトのポートは19999なので、「http://IPアドレス:19999」へアクセスする。
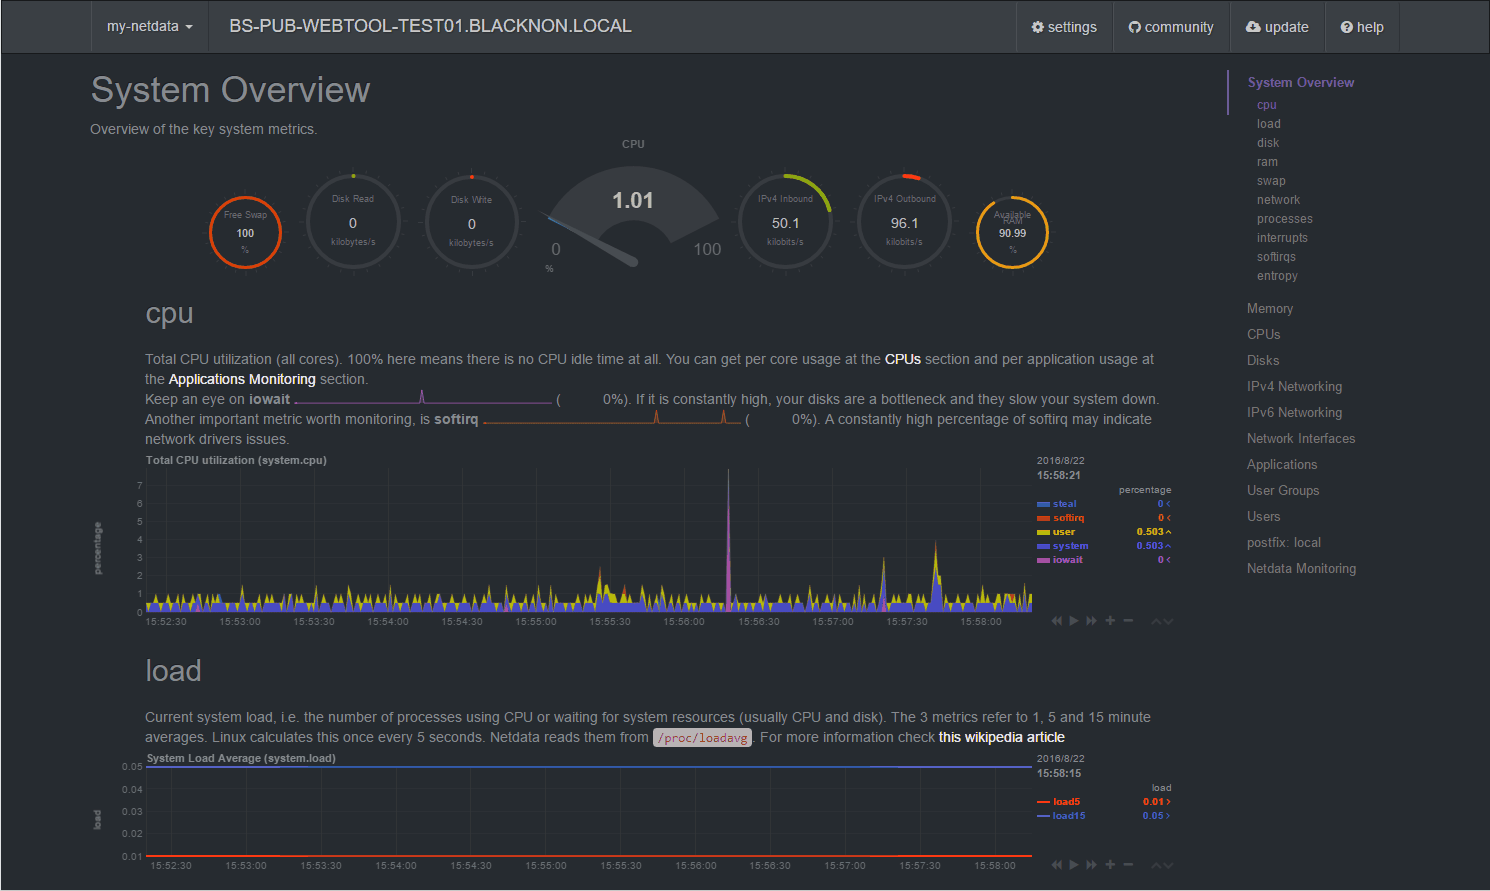
おおー、きれい…
これはいいね。できれば、このUIで複数台のノードを一括でモニタリングできるといいけど、まぁあまり贅沢を言ってもしょうがない。

