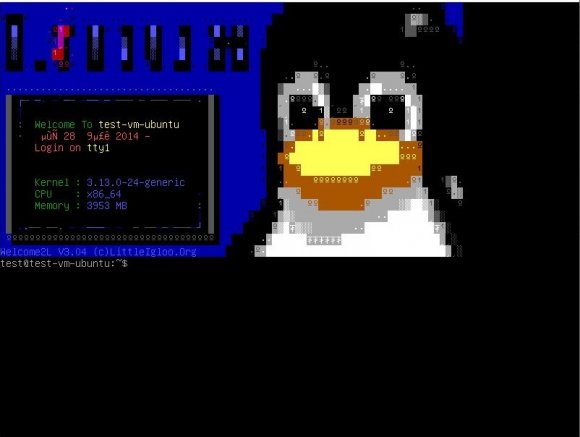
今回紹介するコマンドは、実行するとLinuxのペンギンによるWelcome画面が表示される『welcome2l』コマンドだ。
1.インストール
まずはインストールから。以下のコマンドを実行する。
sudo apt-get install welcome2l2.コマンドの実行
さて、それではコマンドを実行してみよう。 まずは普通に引数無しで実行。
welcome2l
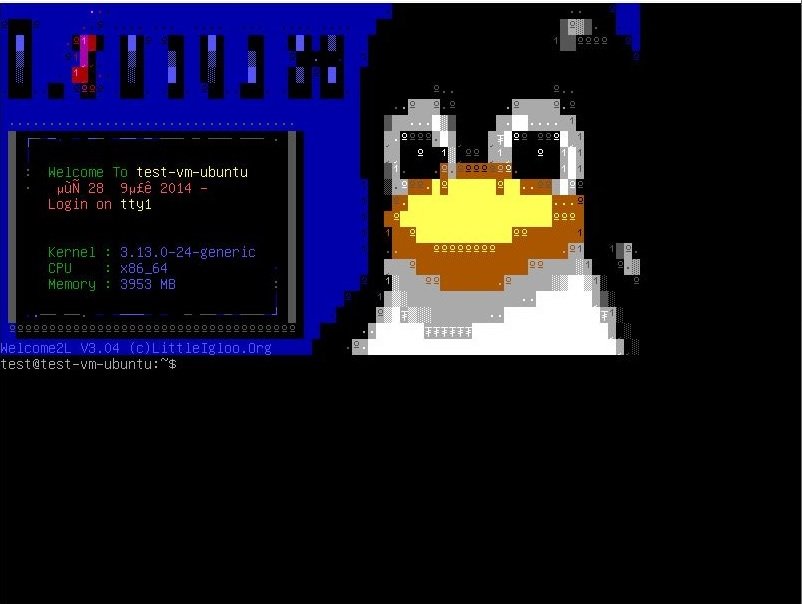
毎度おなじみ、Linuxのマスコットキャラクターであるペンギンが表示される。 次に、help画面の確認をしてみる。
$ welcome2l

Welcome2L V3.04 By Jean-Marc Jacquet <jm@littleigloo.org>
Copyright (c)1999 Little Igloo - http://www.littleigloo.org
Compiled on 05/01/12 19:27:08 by buildd@komainu (gcc version 4.7.0 (Ubuntu/Linaro 4.7.0-5ubuntu1) )
Distributed under the terms of the GNU General Public License.

OPTIONS:
  -scrxx : Display the screen number xx
  -msg"text of message" : Show the msg given as the distribution info
  -getty : Display more accurate information when launched at boot time
  (via an init script).
  -nolf : Do not add an empty line to the ansi screen produced.
  -lcolxx : Change the prompt color to the color number xx
            COLOR NUMBERS ARE: 1 2 3 4 5 6 7 8 9 10 11 12 13 14 15
  -cpu"string" : Specifies an alternate CPU description
  -private : Add an "Unauthorized access is PROHIBITED" line
  -notime : Do not dispaly current time
  -noblink : Turn blinking off

EXAMPLE:
  ./Welcome2L -getty -msg"RedHat Linux" -lcol14
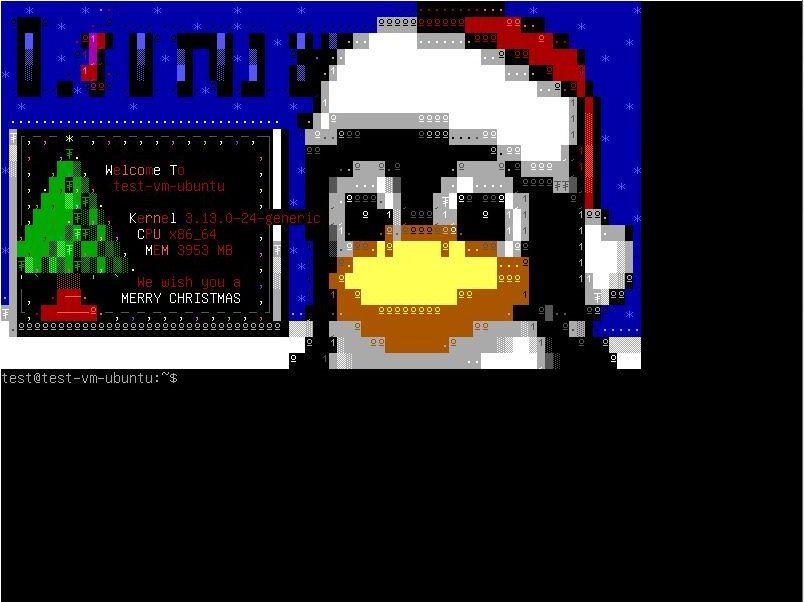
どうやら、表示する内容を色々と変更出来るようだ。 試しに「--xmas」オプションを追加して、クリスマスモードにしてみる。
welcome2l --xmas
その他、「--scr00(00の箇所は任意の番号)」オプションで表示されるAAの変更を出来たりするらしい。 ぜひmotdに設定してみるといいだろう。

