
Webスクレイピングを行う際に重宝するcurlコマンド。
今回は、このコマンドで覚えておくと便利な使い方についてをまとめてみる。
1.基本的な使い方
基本的には、以下のようにコマンドを実行することでHTTPリクエストを実施し、その内容を標準出力に出してくれる。
curl http://対象のURL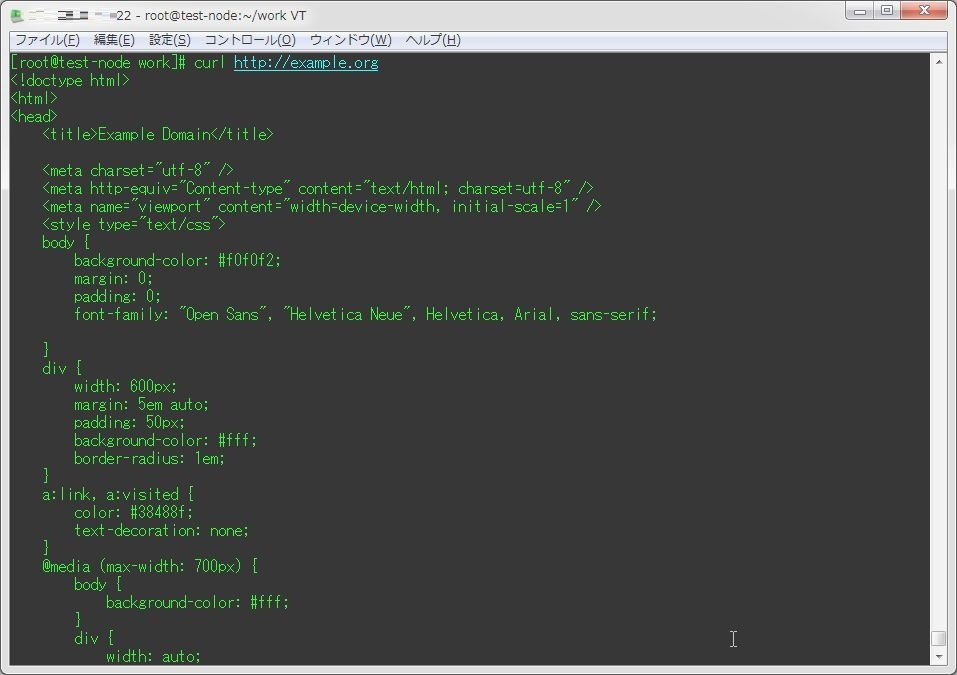
2.ファイルに出力する
HTTPリクエストの回答をファイルに書き出す場合は、リダイレクトで出力先を指定するか、「-o」オプションで出力先PATHを指定してやれば良い。
curl http://対象のURL > 出力先PATH
curl -o 出力先PATH http://対象のURL
3.プロキシ経由でアクセスする
プロキシ経由でアクセスする場合、「-x」オプションでプロキシサーバを指定すれば良い。
curl -x プロキシサーバ:ポート番号 http://対象のURLもしプロキシサーバを利用する際に認証が必要な場合、以下のようにユーザ名・パスワードを指定すると良いだろう。
curl -x プロキシサーバ:ポート番号 --proxy-user ユーザ名:パスワード http://対象のURL4.リダイレクトを有効にする
デフォルトではcurlはリダイレクトに対応していないが、「-L」オプションを付与することでリダイレクト先のURLにもリクエストを出すようになる。
curl -L http://対象のURL5.進捗を非表示にする
ファイルに出力する際に進捗情報を非表示にする場合は、「-s」オプションを用いる。
curl -s -o 出力先PATH http://対象のURL[root@test-node work]# curl -o /tmp/test http://example.org
% Total % Received % Xferd Average Speed Time Time Time Current
Dload Upload Total Spent Left Speed
100 1270 100 1270 0 0 4627 0 --:--:-- --:--:-- --:--:-- 4618
[root@test-node work]# curl -s -o /tmp/test http://example.orgなお、上のオプションではエラーも非表示となるので、エラーのみ表示させるようにする場合は、「-sS」オプションを用いる。
curl -sS -o 出力先PATH http://対象のURL[root@test-node work]# curl -s -o /tmp/test http://example.org1
[root@test-node work]# curl -sS -o /tmp/test http://example.org1
curl: (6) Could not resolve host: example.org1; 名前またはサービスが不明です6.途中で中断したダウンロードの再開をする
「Ctrl + C」キーなどで、途中で中断したダウンロードを再開する場合は、「-C -」を付与すると良いだろう。
curl -C - http://対象のURL[root@test-node work]# curl -O http://ftp.riken.jp/Linux/centos/7/isos/x86_64/CentOS-7-x86_64-DVD-1511.iso
% Total % Received % Xferd Average Speed Time Time Time Current
Dload Upload Total Spent Left Speed
21 4129M 21 891M 0 0 44.0M 0 0:01:33 0:00:20 0:01:13 43.2M^C
[root@test-node work]# curl -C - -O http://ftp.riken.jp/Linux/centos/7/isos/x86_64/CentOS-7-x86_64-DVD-1511.iso
** Resuming transfer from byte position 949084160
% Total % Received % Xferd Average Speed Time Time Time Current
Dload Upload Total Spent Left Speed
16 3223M 16 538M 0 0 43.0M 0 0:01:14 0:00:12 0:01:02 45.3M※やり直しをすると、ダウンロードが必要になる容量が減っている事が確認できる。
7.転送速度に制限をかける
「--limit-rate」オプションを付与することで、転送速度に制限をかける事ができる。
curl --limit-rate 制限する転送速度 http://対象のURL8.認証を行う
以下のようにコマンドを実行することにより、Basic認証及び、その他の認証について行ってアクセスすることが出来る。
curl --anyauth --user ユーザ名:パスワード http://対象のURL
9.POSTをする
ファイルをアップロードするなど、curl経由でPOSTをする場合は「-F」オプションで行う事が出来る。
curl -F "name=value" http://対象のURLファイルをアップロードする場合は、値に「@PATH」を記述すると良いだろう。
curl -F "name=@PATH" http://対象のURL10.400番台のエラーコード時に異常終了とする
curlでは、通常は400番台のエラーコードの際でも正常終了(exitコード0)として扱われれる。
これを異常終了として扱う場合は、「-f」オプションを付与する。
curl -f http://対象のURL[root@test-node work]# curl http://www.google.com/dummy.txt
<!DOCTYPE html>
<html lang=en>
<meta charset=utf-8>
<meta name=viewport content="initial-scale=1, minimum-scale=1, width=device-width">
<title>Error 404 (Not Found)!!1</title>
<style>
*{margin:0;padding:0}html,code{font:15px/22px arial,sans-serif}html{background:#fff;color:#222;padding:15px}body{margin:7% auto 0;max-width:390px;min-height:180px;padding:30px 0 15px}* > body{background:url(//www.google.com/images/errors/robot.png) 100% 5px no-repeat;padding-right:205px}p{margin:11px 0 22px;overflow:hidden}ins{color:#777;text-decoration:none}a img{border:0}@media screen and (max-width:772px){body{background:none;margin-top:0;max-width:none;padding-right:0}}#logo{background:url(//www.google.com/images/branding/googlelogo/1x/googlelogo_color_150x54dp.png) no-repeat;margin-left:-5px}@media only screen and (min-resolution:192dpi){#logo{background:url(//www.google.com/images/branding/googlelogo/2x/googlelogo_color_150x54dp.png) no-repeat 0% 0%/100% 100%;-moz-border-image:url(//www.google.com/images/branding/googlelogo/2x/googlelogo_color_150x54dp.png) 0}}@media only screen and (-webkit-min-device-pixel-ratio:2){#logo{background:url(//www.google.com/images/branding/googlelogo/2x/googlelogo_color_150x54dp.png) no-repeat;-webkit-background-size:100% 100%}}#logo{display:inline-block;height:54px;width:150px}
</style>
<a href=//www.google.com/><span id=logo aria-label=Google></span></a>
<p><b>404.</b> <ins>That’s an error.</ins>
<p>The requested URL <code>/dummy.txt</code> was not found on this server. <ins>That’s all we know.</ins>
[root@test-node work]# echo $?
0
[root@test-node work]# curl -f http://www.google.com/dummy.txt
curl: (22) The requested URL returned error: 404 Not Found
[root@test-node work]# echo $?
2211.Cookieを用いてログイン情報を保存する
curlで、Cookieを用いてログイン情報を保存し、その後認証が必要なページにアクセスする場合は、以下のようにログイン情報を転送する。
※「-d」で渡している設定名・値は各環境で異なるので注意。
curl -c cookie.txt -d 'username=ユーザ名' -d 'password=パスワード' http://対象のログインURL
curl -b cookie.txt http://ログイン後に情報を取得するページ
12.UserAgentを偽装する
curlでUserAgentを偽装する場合は、「-A」オプションを用いる。
curl -A "偽装するUserAgent" http://対象のURL2016/12/03 追記
13.レスポンスタイムを取得する
以下のようにコマンドを実行することで、対象のWebページのレスポンスタイムとそのステータスを取得することができる。
curl https://対象のURL -o /dev/null -w "%{http_code}\t%{time_total}\n" 2> /dev/null[root@BS-PUB-CENT7-01 ~]# curl https://orebibou.com -o /dev/null -w "%{http_code}\t%{time_total}\n" 2> /dev/null
200 0.5682019/03/10
14. 連続ダウンロードをする
curlは、以下のようにリクエスト先のURL内で範囲指定や文字列を{}内でカンマ区切りで指定することで、連続でリクエストを投げることができる。
curl https://example.com/[000-100].html # [000-100]までのhtmlファイルへ連続リクエスト
curl https://example.com/{a,b,c}.html # ブレース展開のように指定できるので、a.html,b.html,c.htmlへアクセス
この時、-oオプションで出力する際に各リクエストごとにファイルを分けることができる。
[xxx-yyy]や{xxx,yyy,zzz}といった形式で指定している箇所は、左から数えて#1,#2といった形で指定できる。
curl -o './test-#1_#2.html' https://example.com/{test-A,test-B,test-C}_[000-100].jpgとりあえず、個人的に使いそうな使い方だけを抜粋してみた。

