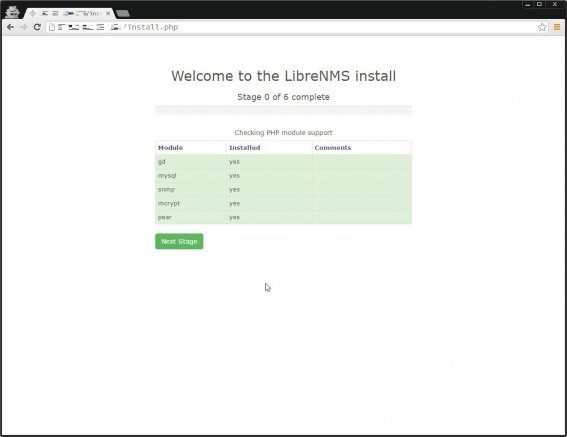
以前にObserviumというモニタリングツールを紹介したことがあったが、そこからフォークした「LibreNMS」というツールがあるようなので、今回はそれをインストールして簡単に触ってみることにする。
インストール先は前回同様、CentOS 7とする。
このLibreNMS、当たり前のことではあるがDBサーバとWebサーバを分離させて動作させることができるのだが、今回はお試しのため同一サーバで動作させることにする。
ちなみに、今回はインストールまでしか行わないのだが、実際にLibreNMSがどういうものかを体験したい場合は、公式のプロジェクトトップページからデモにアクセスすることができるので、実際に触ってみると良いだろう。
以下、デモ画面のスクリーンショット。
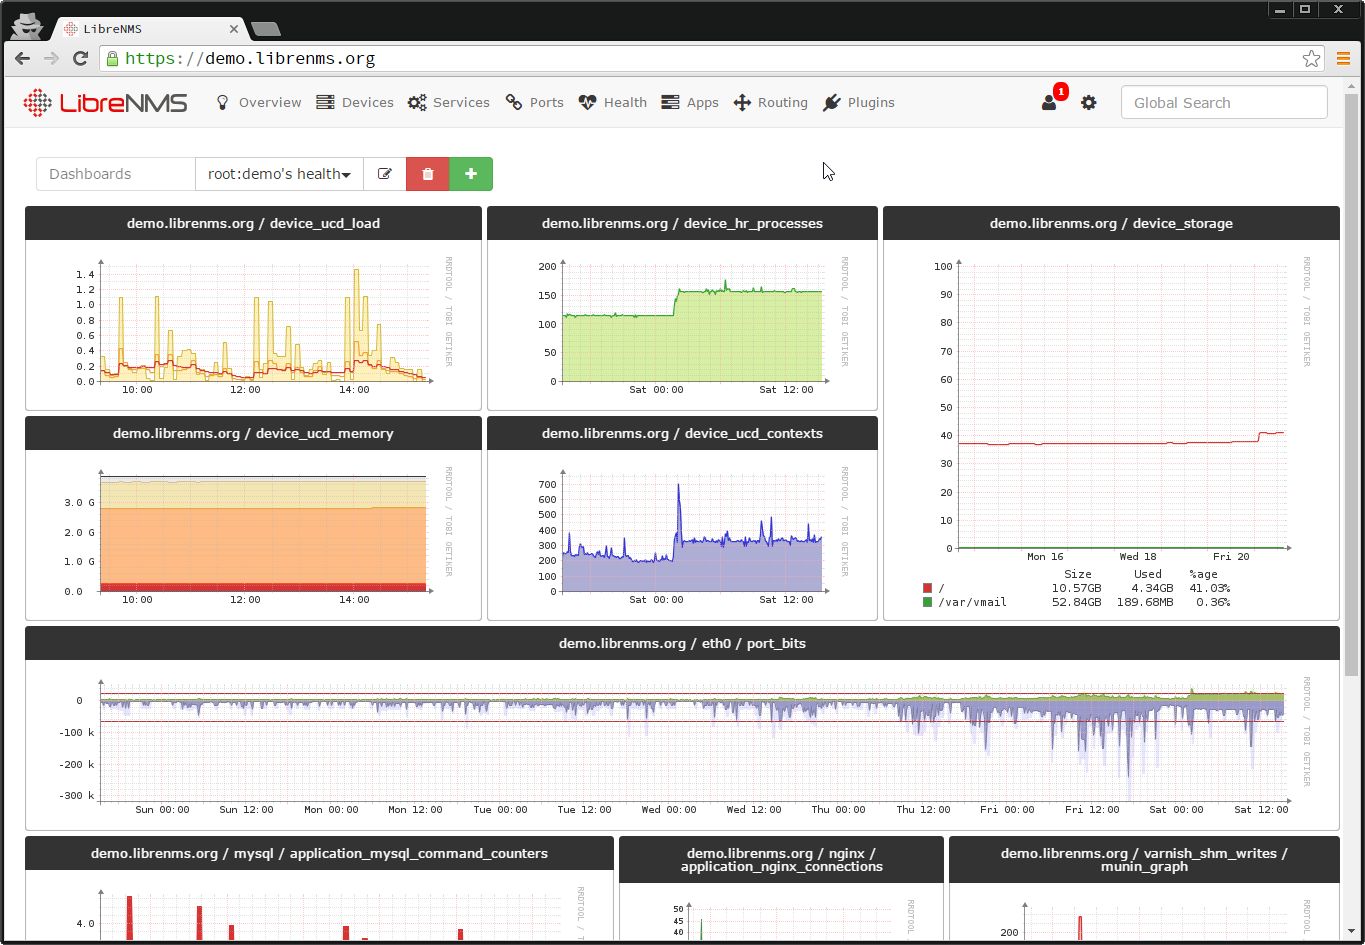
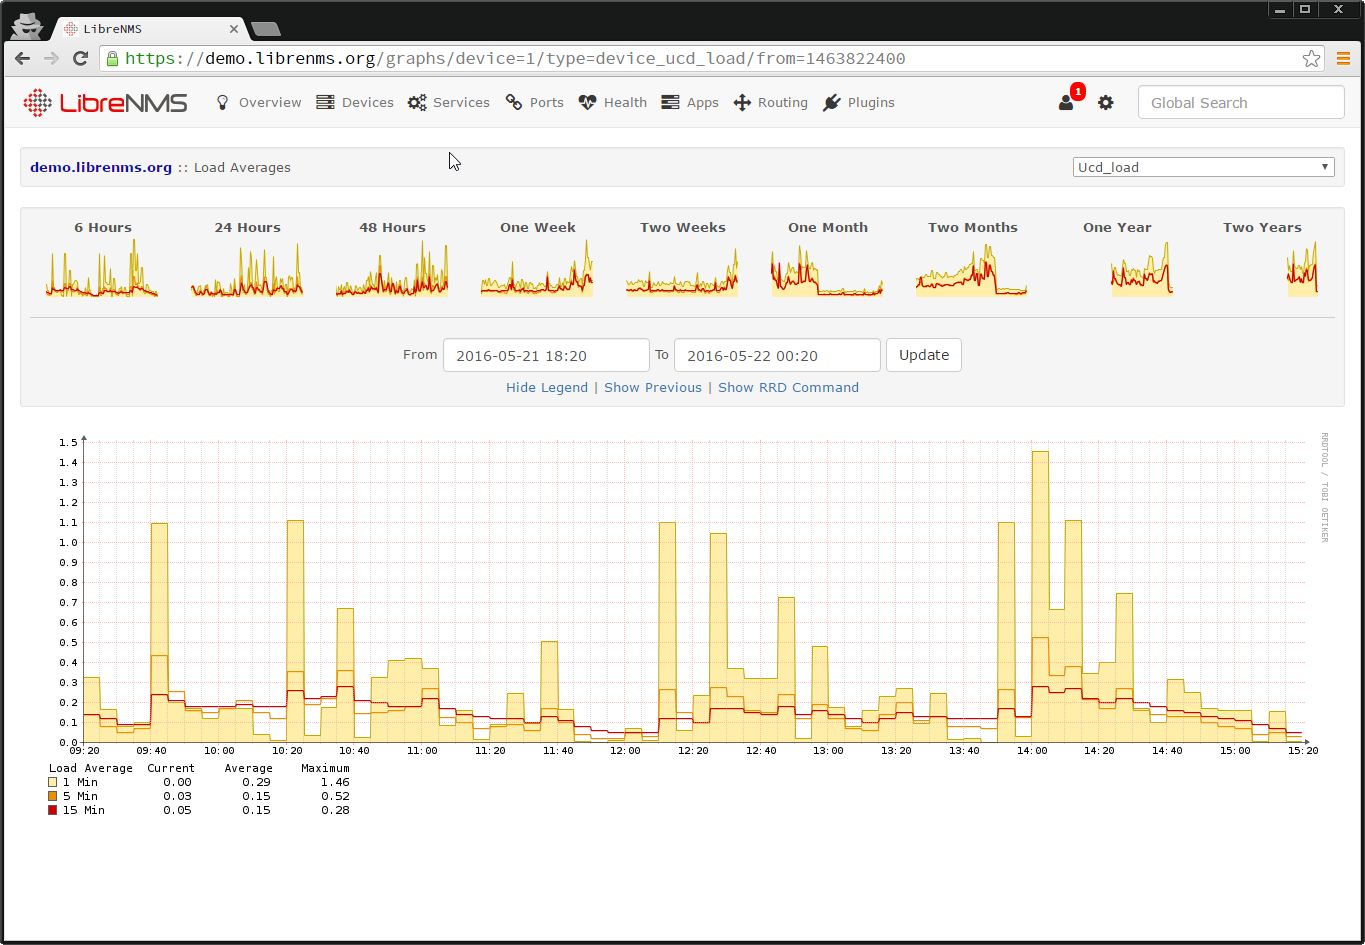
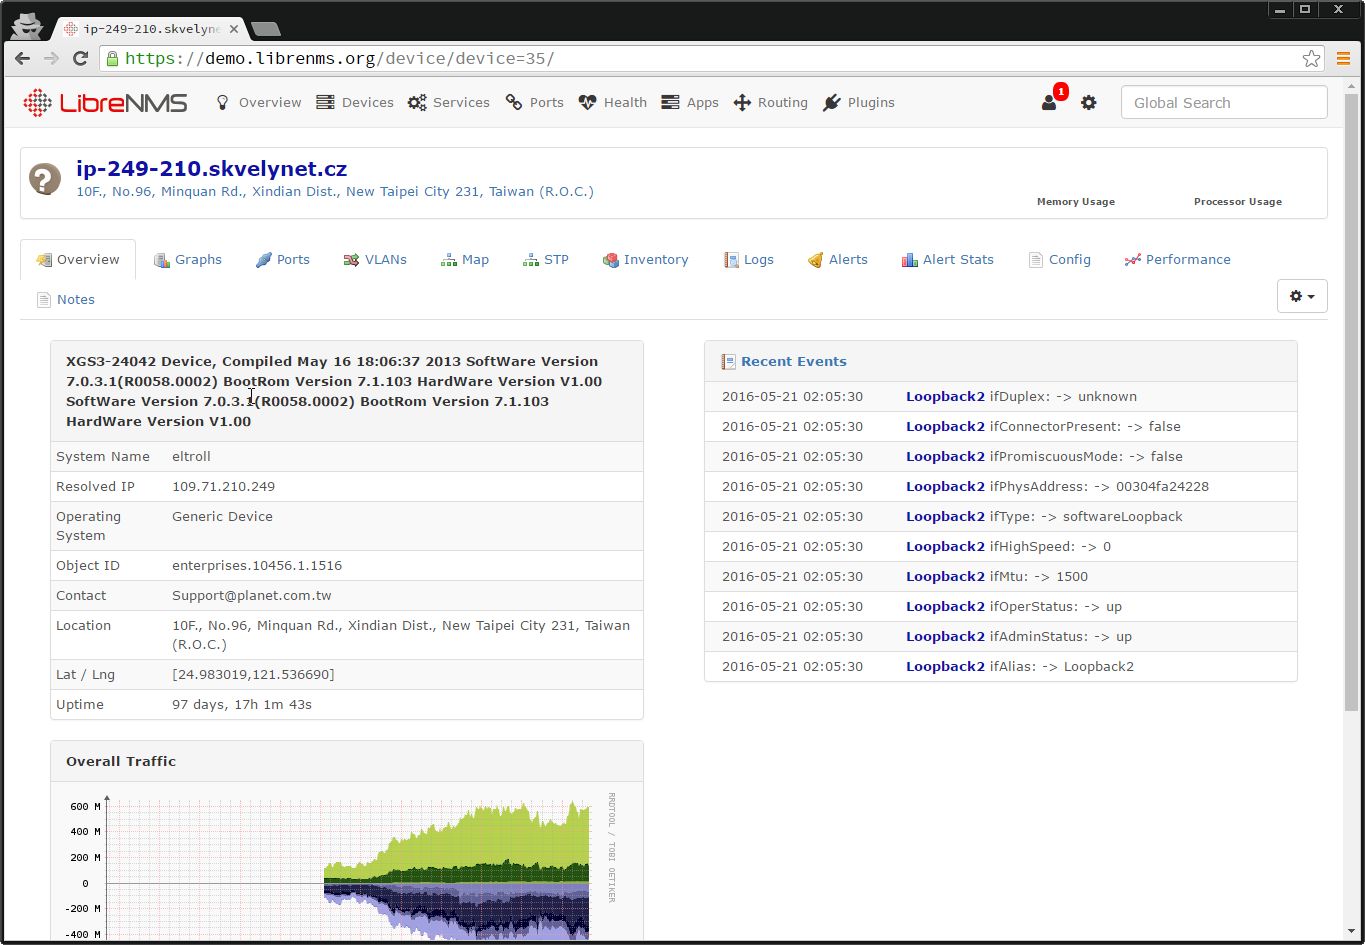
見ての通り、グラフが非常に綺麗に描画されるツールだ。
1.前提パッケージのインストール・設定
まずはLibreNMSを動作させる前提となるパッケージの導入から。
1-1.DB関連のミドルウェアインストール・設定
以下のコマンドを実行する。
yum -y install net-snmp mariadb-server mariadb-clientインストールしたMariaDBとsnmpdの起動、自動起動設定を行う。
systemctl enable mariadb
systemctl start mariadb
systemctl enable snmpd
systemctl start snmpd
「mysql_secure_installation」を実行しておく。
[root@BS-PUB-MONITOR-13 ~]# mysql_secure_installation
/usr/bin/mysql_secure_installation: 行 379: find_mysql_client: コマンドが見つかりません

NOTE: RUNNING ALL PARTS OF THIS SCRIPT IS RECOMMENDED FOR ALL MariaDB
      SERVERS IN PRODUCTION USE!  PLEASE READ EACH STEP CAREFULLY!

In order to log into MariaDB to secure it, we'll need the current
password for the root user.  If you've just installed MariaDB, and
you haven't set the root password yet, the password will be blank,
so you should just press enter here.

Enter current password for root (enter for none):
OK, successfully used password, moving on...

Setting the root password ensures that nobody can log into the MariaDB
root user without the proper authorisation.

Set root password? [Y/n]
New password:
Re-enter new password:
Password updated successfully!
Reloading privilege tables..
 ... Success!

By default, a MariaDB installation has an anonymous user, allowing anyone
to log into MariaDB without having to have a user account created for
them.  This is intended only for testing, and to make the installation
go a bit smoother.  You should remove them before moving into a
production environment.

Remove anonymous users? [Y/n]
 ... Success!

Normally, root should only be allowed to connect from 'localhost'.  This
ensures that someone cannot guess at the root password from the network.

Disallow root login remotely? [Y/n]
 ... Success!

By default, MariaDB comes with a database named 'test' that anyone can
access.  This is also intended only for testing, and should be removed
before moving into a production environment.

Remove test database and access to it? [Y/n]
 - Dropping test database...
 ... Success!
 - Removing privileges on test database...
 ... Success!

Reloading the privilege tables will ensure that all changes made so far
will take effect immediately.

Reload privilege tables now? [Y/n]
 ... Success!

Cleaning up...

All done!  If you've completed all of the above steps, your MariaDB
installation should now be secure.

Thanks for using MariaDB!
次に、LibreNMSで利用するデータベース・テーブルの作成を行う。
CREATE DATABASE librenms;
GRANT ALL PRIVILEGES ON librenms.*
  TO 'librenms'@'127.0.0.1'
  IDENTIFIED BY '<password>'
;
FLUSH PRIVILEGES;
exit
[root@BS-PUB-MONITOR-13 ~]# mysql -u root -p
Enter password:
Welcome to the MariaDB monitor. Commands end with ; or \g.
Your MariaDB connection id is 10
Server version: 5.5.47-MariaDB MariaDB Server
Copyright (c) 2000, 2015, Oracle, MariaDB Corporation Ab and others.
Type 'help;' or '\h' for help. Type '\c' to clear the current input statement.
MariaDB [(none)]> CREATE DATABASE librenms;
Query OK, 1 row affected (0.00 sec)
MariaDB [(none)]> GRANT ALL PRIVILEGES ON librenms.*
-> TO 'librenms'@'127.0.0.1'
-> IDENTIFIED BY 'PassW0rd'
-> ;
Query OK, 0 rows affected (0.00 sec)
MariaDB [(none)]> FLUSH PRIVILEGES;
Query OK, 0 rows affected (0.00 sec)
MariaDB [(none)]> exit
Bye最後に、「/etc/my.cnf」に以下の行を追加するため、以下のコマンドを実行する。
grep '^innodb_file_per_table' /etc/my.cnf || echo "innodb_file_per_table=1" >> /etc/my.cnf
service mariadb restart
1-2.NMS関連のミドルウェアインストール・設定
次に、NMS関連のインストール・設定を行う。
まず、以下のコマンドを実行して関連ミドルウェアのインストールを行う。
yum -y install epel-release
yum -y install php php-cli php-gd php-mysql php-snmp php-pear php-curl httpd net-snmp graphviz graphviz-php mariadb ImageMagick jwhois nmap mtr rrdtool MySQL-python net-snmp-utils cronie php-mcrypt fping git
pear install Net_IPv4-1.3.4
pear install Net_IPv6-1.2.2b2
次にsnmpdの設定ファイルに追記を行い、セルフポーリングを有効にする。
echo "rocommunity public 127.0.0.1" >> /etc/snmp/snmpd.conf
systemctl restart snmpd
Webサーバ関連の設定を行う。
今回はApacheを用いる。まずはユーザ作成から。
useradd librenms -d /opt/librenms -M -r
usermod -a -G librenms apache
次に、新規でApacheのLibreNMS用設定ファイルを作成、不要なファイルをリネームする。
cat << EOF > /etc/httpd/conf.d/librenms.conf
<VirtualHost *:80>
  DocumentRoot /opt/librenms/html/
  ServerName  librenms.example.com
  CustomLog /opt/librenms/logs/access_log combined
  ErrorLog /opt/librenms/logs/error_log
  AllowEncodedSlashes NoDecode
  <Directory "/opt/librenms/html/">
    AllowOverride All
    Options FollowSymLinks MultiViews
    Require all granted
  </Directory>
</VirtualHost>
EOF
mv /etc/httpd/conf.d/welcome.conf /etc/httpd/conf.d/welcome.conf.bak
これで下準備ができた。
2.LibreNMSのインストール
前提となるパッケージの導入が終了したら、LibreNMSのインストールを行う。
まず、git cloneでLibreNMSをダウンロードしてくる。
cd /opt
git clone https://github.com/librenms/librenms.git librenms
cd /opt/librenms
次に、必要となるディレクトリの作成や権限変更を行う。
mkdir rrd logs
cp /opt/librenms/config.php.default /opt/librenms/config.php
chown -R librenms:librenms /opt/librenms
chmod 775 rrd
SELinux/Firewalldに関する設定を行う。
今回はこのまま停止させてしまうことにする。
setenforce 0
sed -i.bak "/SELINUX/s/enforcing/disabled/g" /etc/selinux/config
systemctl stop firewalld
systemctl disable firewalld
最後に、httpdの再起動を行う。
systemctl restart httpd3.Webコンソールからの設定
一通りの作業が終わったら、Webコンソールからインストールの続きを行う。
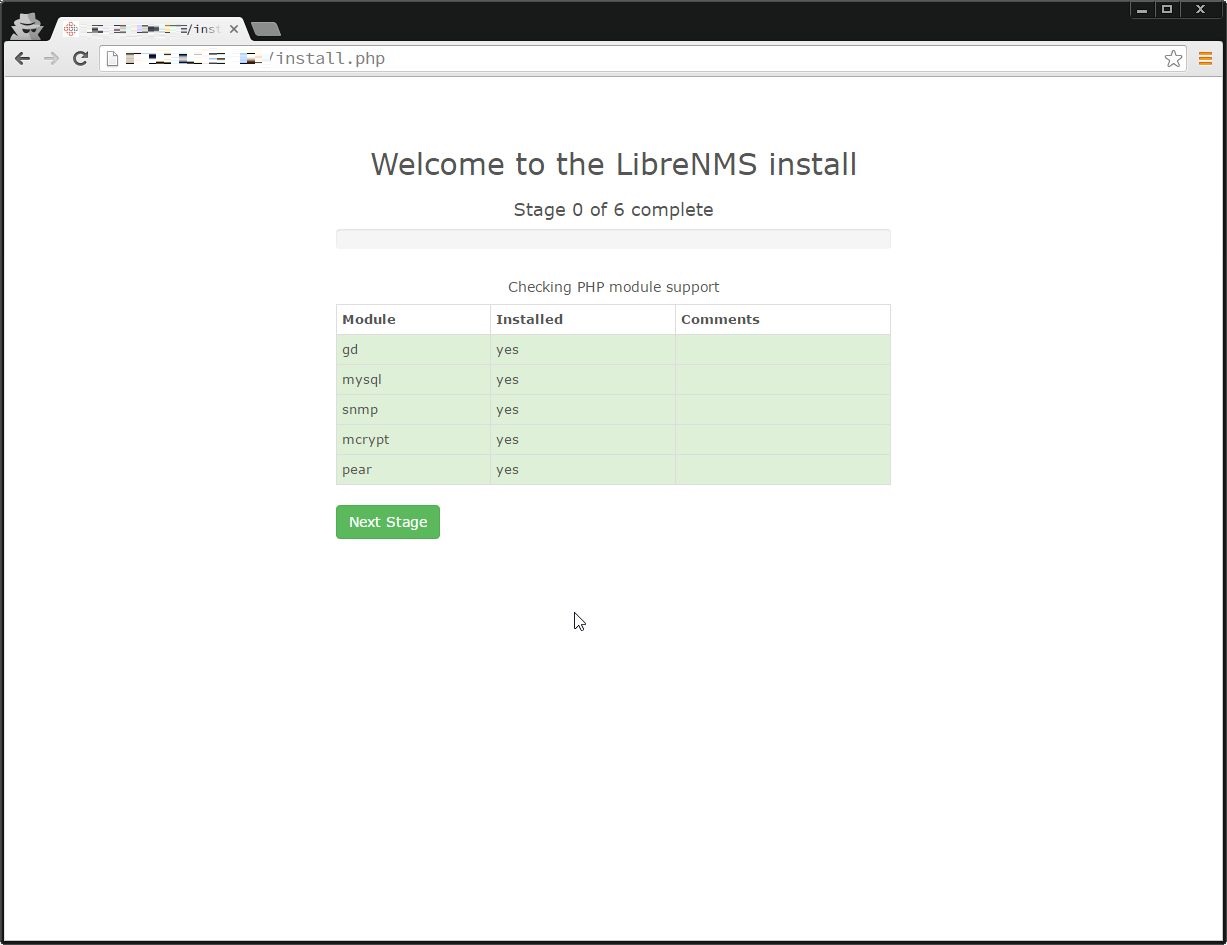
Webブラウザから「http://IPアドレス/install.php」へアクセスを行う。
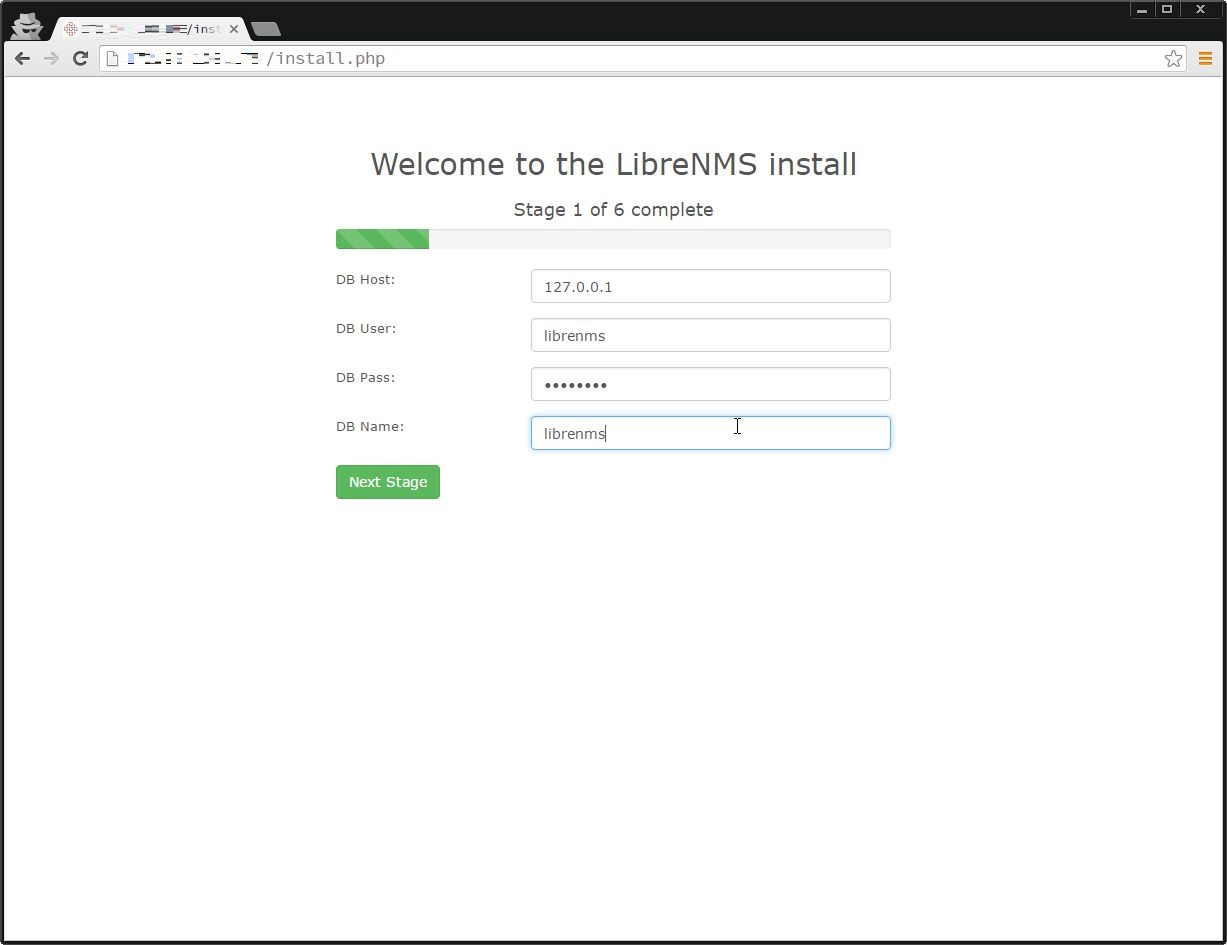
DBはホストを127.0.0.1に書き換えて接続。
(この時、SELinuxが有効だと接続に失敗するかも)
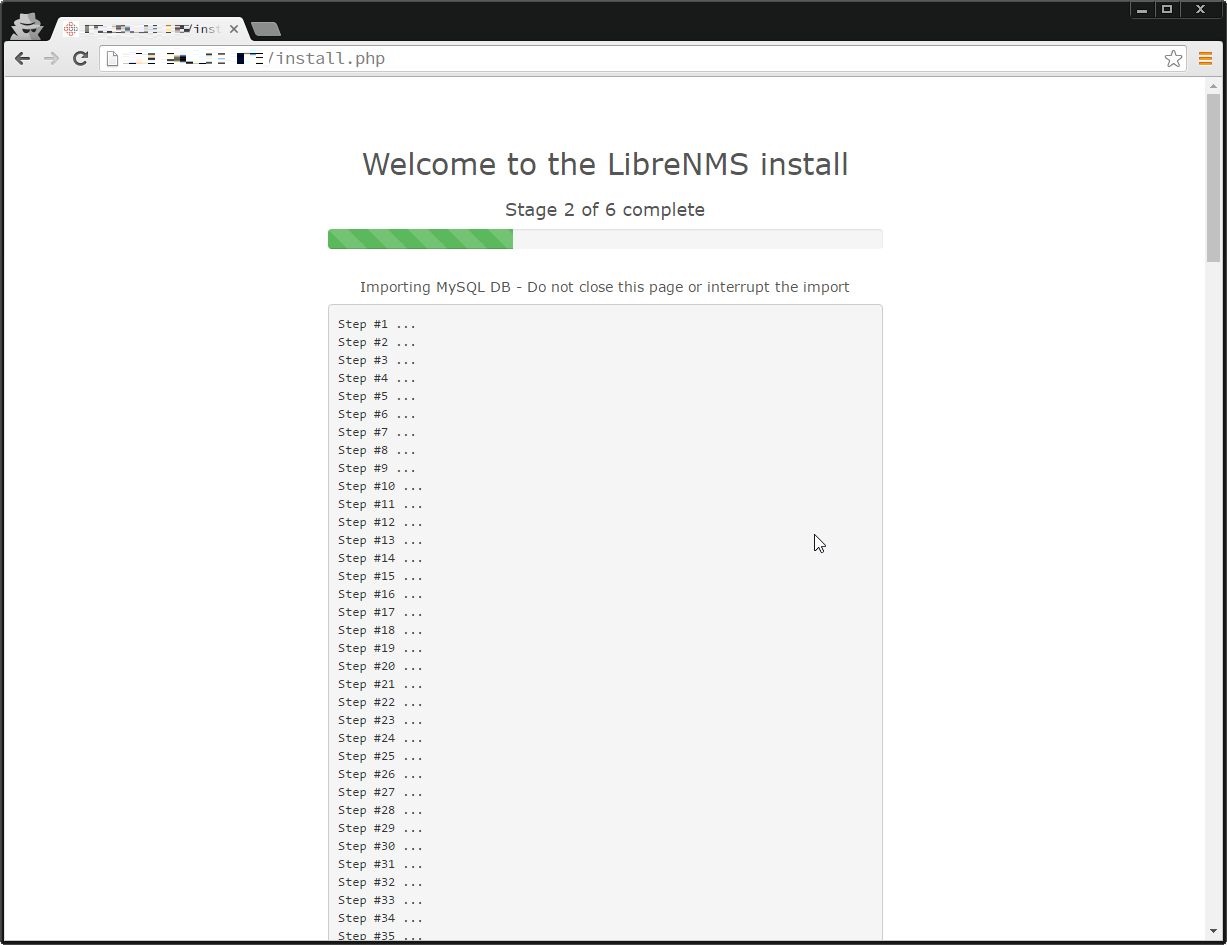
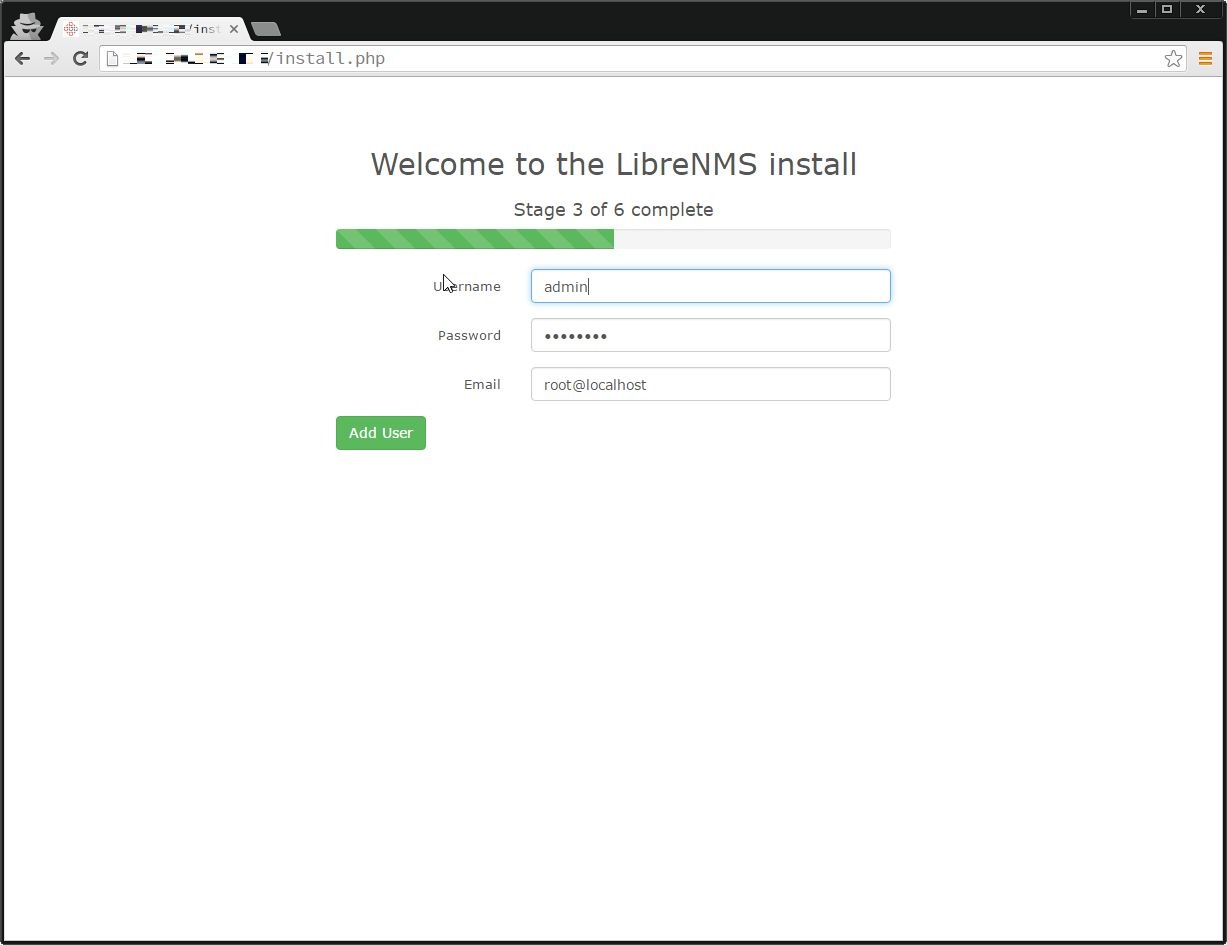
LibreNMS用のユーザを作成する。
今回はとりあえずadminユーザを作成。
次に進むと、以下のようなメッセージが現れることがある。
設定ファイルの作成ができなかったから、ブラウザに出力されている設定内容で「/opt/librenms/config.php」として作成しろとのことなので、そのままコピペして作成。
作成がおわったら、「Finish Install」をクリックする。
We couldn't create the config.php file, please create this manually before continuing by copying the below into a config.php in the root directory of your install (typically /opt/librenms/)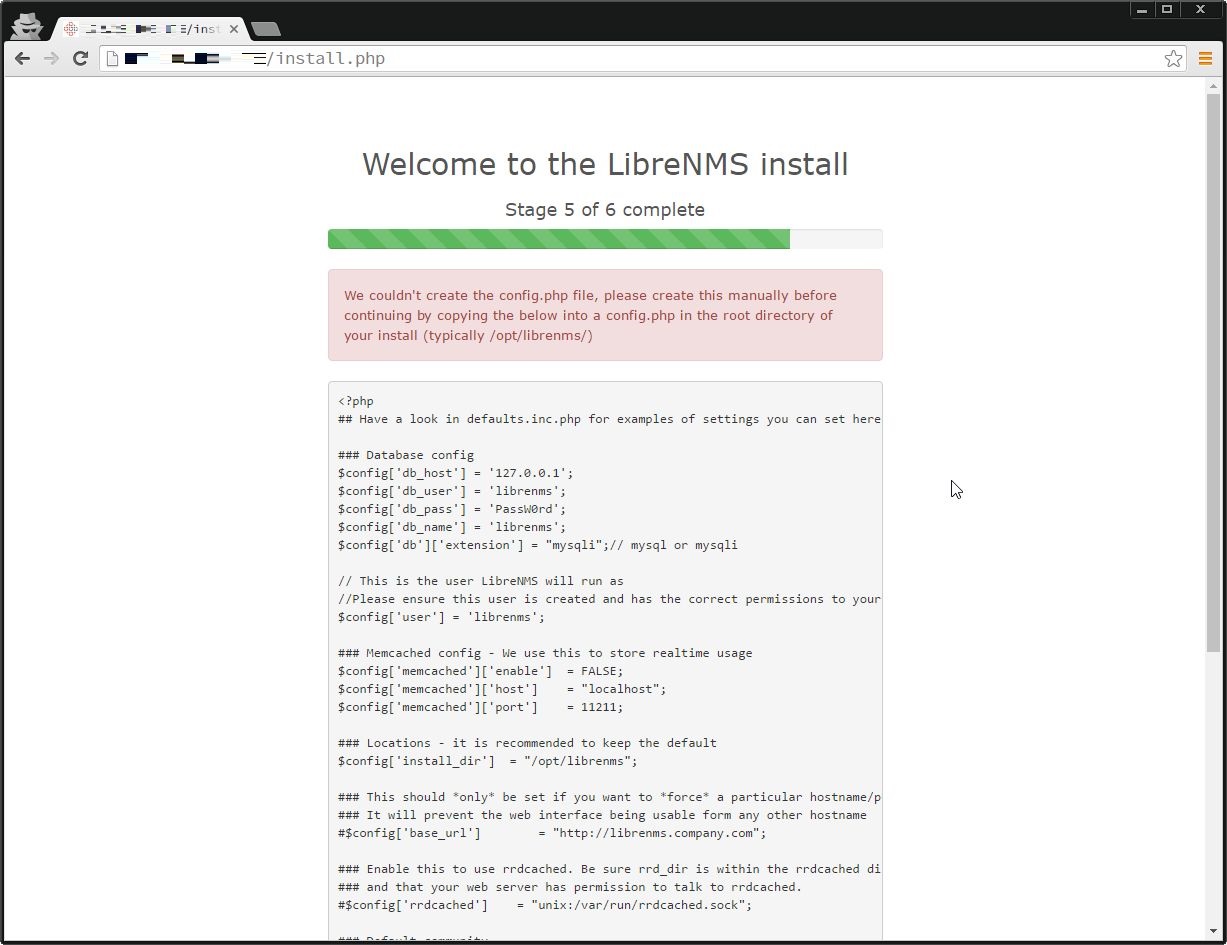
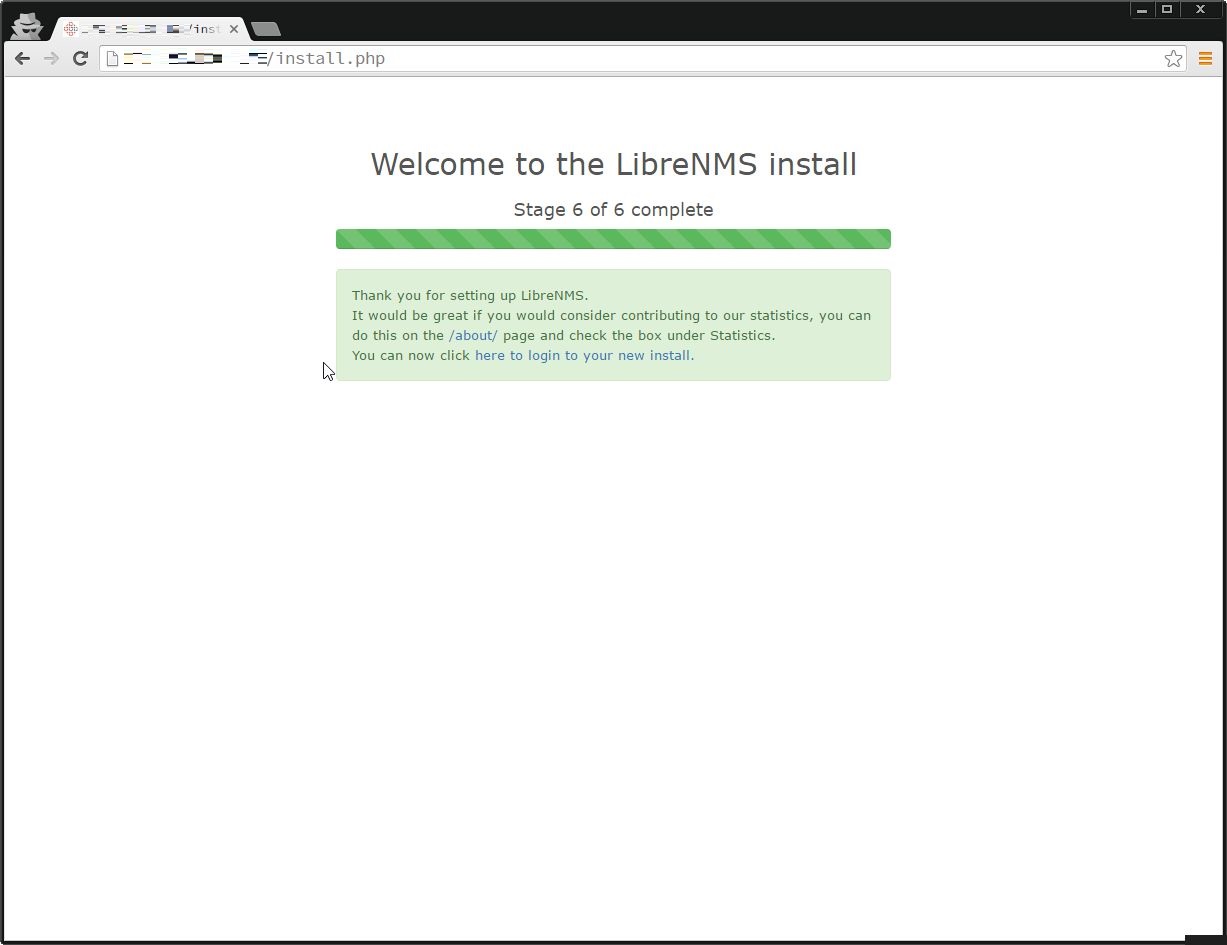
で、以下の画面が表示されてインストールが完了となる。
4.LibreNMSへアクセスする
インストールが完了したら、「http://IPアドレス」でLibreNMSにアクセスする。
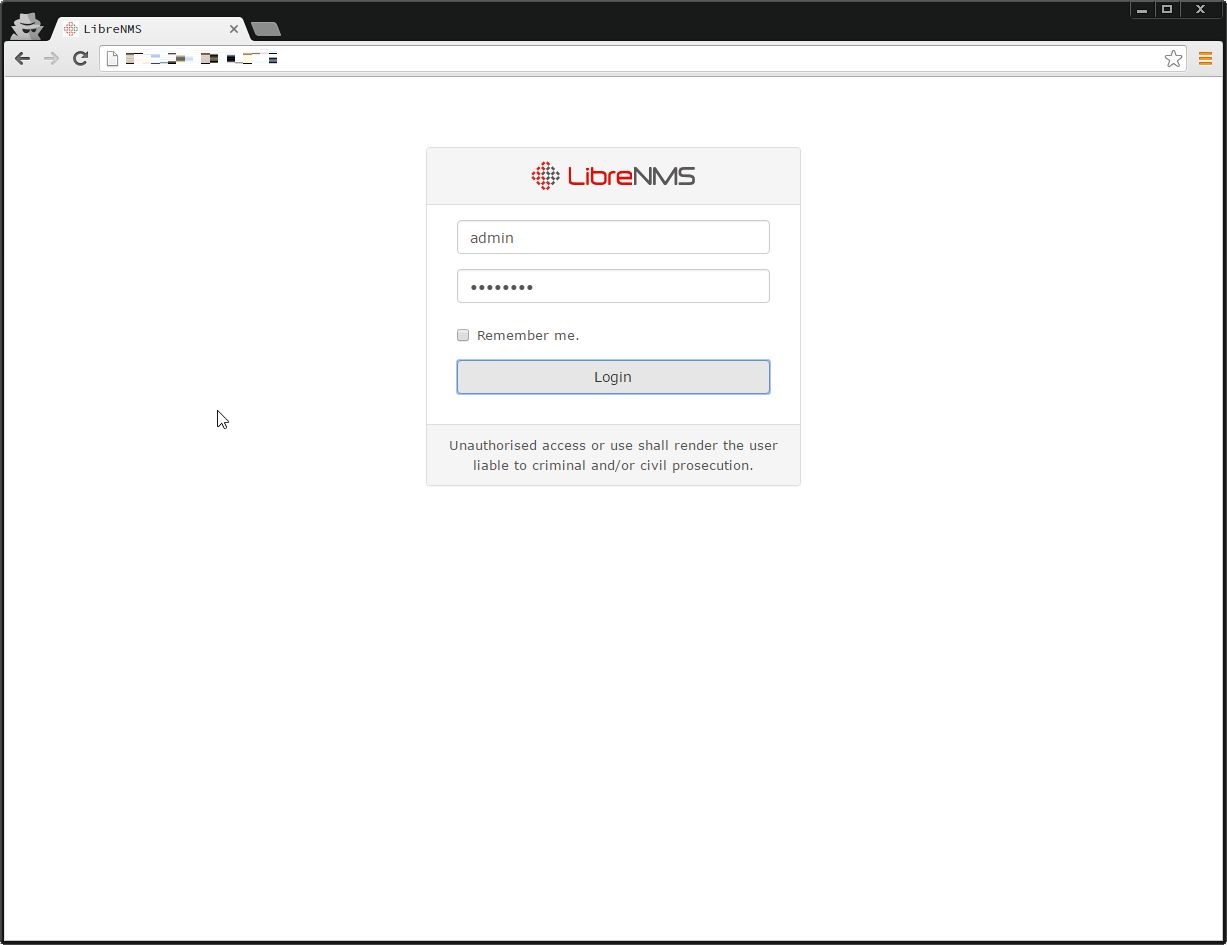
ログイン画面が表示されるので、先ほど作成したユーザでログインする。
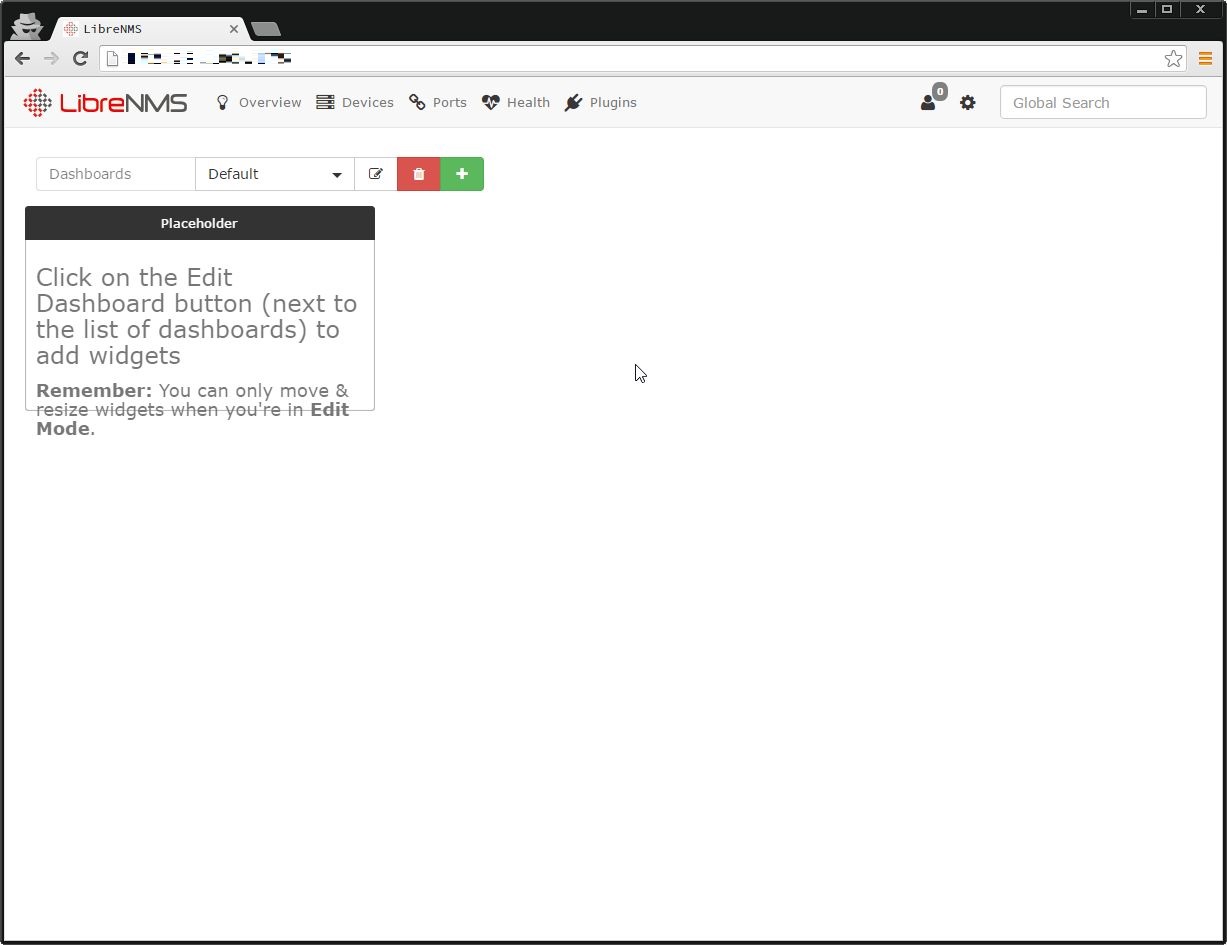
これでインストールができた。

