今回は、CentOS 7でNginx・MariaDB・PHP7を用いた環境(LEMP環境)でのWordPressの構築を実施する。
まず、対象のサーバにLEMP環境が導入されていることが前提となるのだが、それについては下の内容を参照してもらいたい。
CentOS7でNginx・MariaDB・PHP7(LEMP環境)を導入する
1.Nginxの設定変更
まず、NginxでVirtualHostの設定を行う。
今回の場合、テストとしてローカルネットワーク内で構築をするため、以下のような設定となる。
- server_name : bs-pub-wordpress-01.blacknon.local
- listen : 80
- Document root : /usr/share/nginx/wordpress
- access_log : /var/log/nginx/wordpress/access.log
- error_log : /var/log/nginx/wordpress/error.log
● /etc/nginx/conf.d/wordpress.conf
server {
    listen 80;
    server_name bs-pub-wordpress-01.blacknon.local;

    access_log /var/log/nginx/wordpress/access.log;
    error_log /var/log/nginx/wordpress/error.log;

    location / {
        root /usr/share/nginx/wordpress;
        index index.php index.html index.htm;

        if (-f $request_filename) {
            expires 30d;
            break;
            }

        if (!-e $request_filename) {
            rewrite ^(.+)$ /index.php?q=$1 last;
            }
        }

    location ~ .php$ {
        fastcgi_pass   localhost:9000;
        fastcgi_index  index.php;
        fastcgi_param  SCRIPT_FILENAME   /usr/share/nginx/wordpress/$fastcgi_script_name;
        fastcgi_param  PATH_INFO         $fastcgi_script_name;
        include /etc/nginx/fastcgi_params;
        }
}
次に、先ほどの設定ファイルで指定したDocumentRootとログの出力ディレクトリについて作成する。
mkdir /usr/share/nginx/wordpress
mkdir /var/log/nginx/wordpress/
chown -R nginx:nginx /usr/share/nginx/wordpress/
Nginxの設定ファイルについてテストを行う。
問題がなければ下のような出力がされる。
nginx -t[root@BS-PUB-WORDPRESS-01 ~]# nginx -t
nginx: the configuration file /etc/nginx/nginx.conf syntax is ok
nginx: configuration file /etc/nginx/nginx.conf test is successful問題がなかったら、以下のコマンドでサービスの再起動を実施する。
systemctl restart nginx.service
systemctl restart php-fpm.service
2.MariaDBでのデータベース作成
次に、MariaDBでWordPress用のデータベースを作成する。
以下のコマンドを実行する。
mysql -u root -p <<EOF
CREATE DATABASE wordpress;
CREATE USER 'ユーザ名'@'localhost' IDENTIFIED BY 'パスワード';
GRANT ALL PRIVILEGES ON wordpress.* TO 'ユーザ名'@'localhost';
EOF
[root@BS-PUB-WORDPRESS-01 ~]# mysql -u root -p < CREATE DATABASE wordpress;
> CREATE USER 'wordpress'@'localhost' IDENTIFIED BY 'wordpress';
> GRANT ALL PRIVILEGES ON wordpress.* TO 'wordpress'@'localhost';
> EOF
Enter password:3.WordPressのインストール・初期設定
Nginxなどの設定が完了したら、WordPressのインストール、初期設定を行う。
まず、以下のコマンドでカレントディレクトリにWordPressのアーカイブファイルを取得して展開する。
wget http://wordpress.org/latest.tar.gz
tar -xzvf latest.tar.gz
展開後、以下のコマンドを実行してDocument Rootにファイルを移動する。
mv wordpress/* /usr/share/nginx/wordpress/
rmdir wordpress
wp-config.phpのサンプルファイルをコピーして設定ファイルを作成する。
cp /usr/share/nginx/wordpress/wp-config{-sample,}.phpコピーして作成したwp-config.phpファイルで、以下の項目を編集する。
// ** MySQL settings - You can get this info from your web host ** //
/** The name of the database for WordPress */
define('DB_NAME', 'wordpress');

/** MySQL database username */
define('DB_USER', 'wordpress');

/** MySQL database password */
define('DB_PASSWORD', 'wordpress');

/** MySQL hostname */
define('DB_HOST', 'localhost');
設定ファイル編集後、DocumentRoot配下の所有者をnginxに変更する。
chown -R nginx:nginx /usr/share/nginx/wordpress最後に、ブラウザからWordPressにアクセスする。
なお、このとき普通に「http://サーバ名」のみだと、なぜか「http://サーバ名/index.php/wp-admin/install.php」というリダイレクトがされてしまう。
なので、「http://サーバ名/wp-admin/install.php」を直接指定してやるといいだろう。
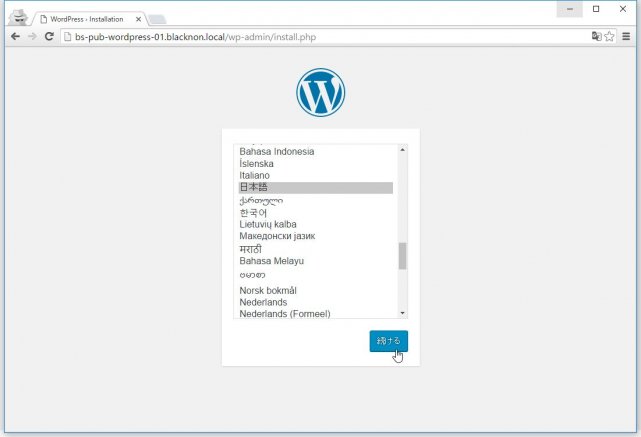
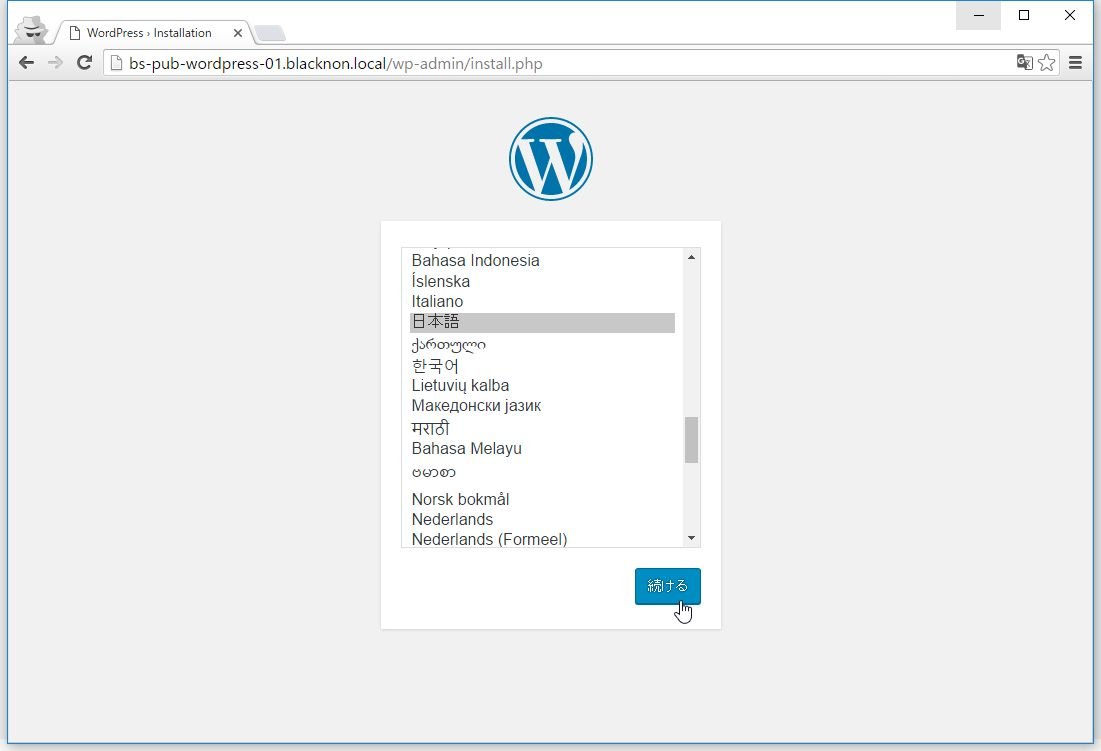
インストール画面が表示されたら、日本語を選択して「続ける」。
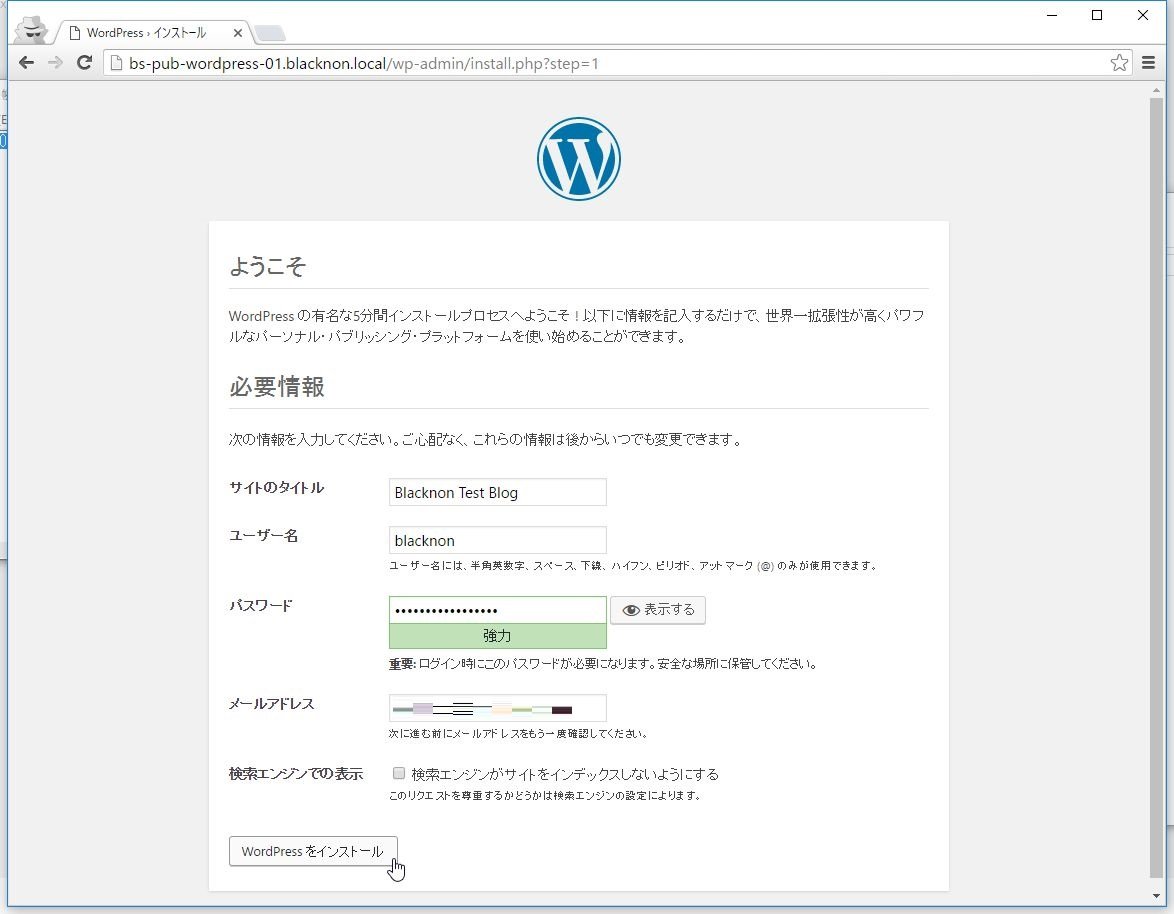
作成するブログの情報を記録して「WordPressをインストール」をクリックする。
インストールが完了したら、あとは先ほど設定したID/PWでログインするだけだ。
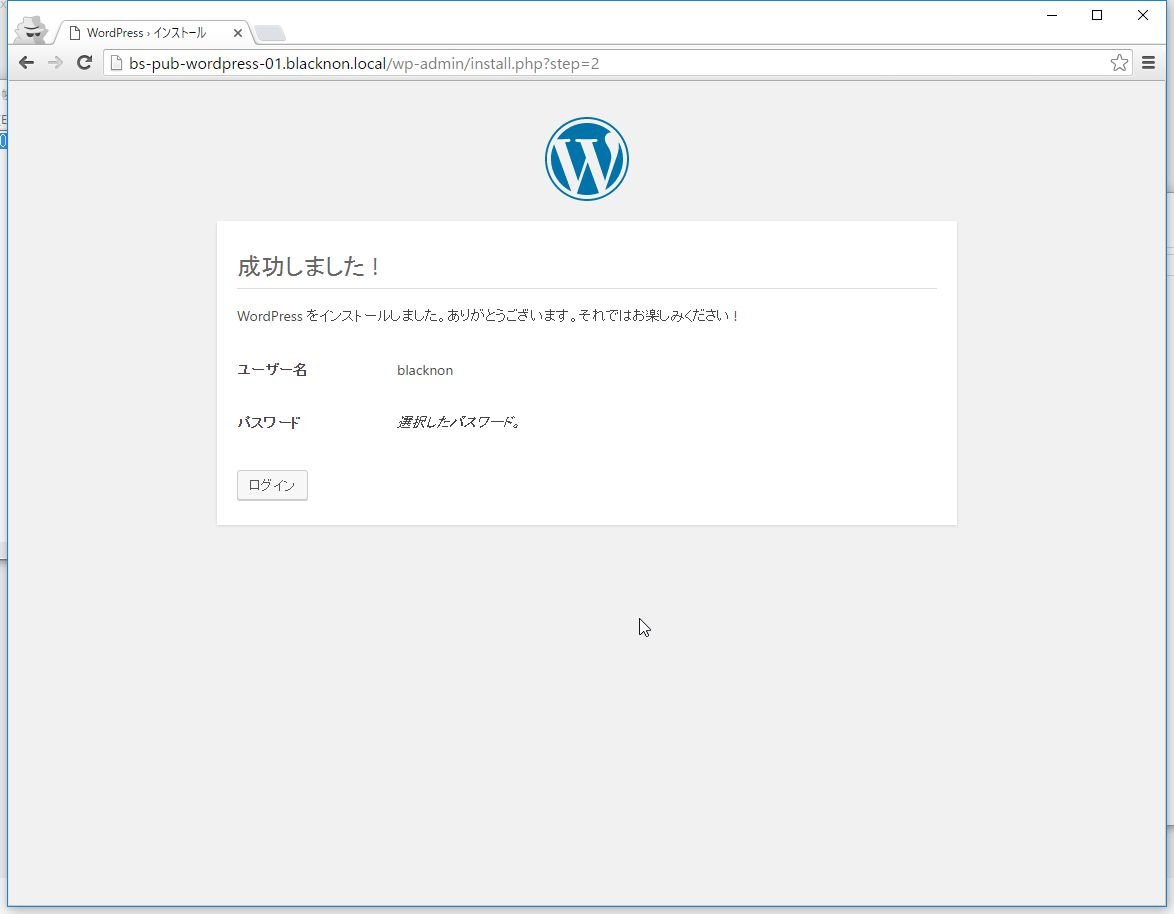
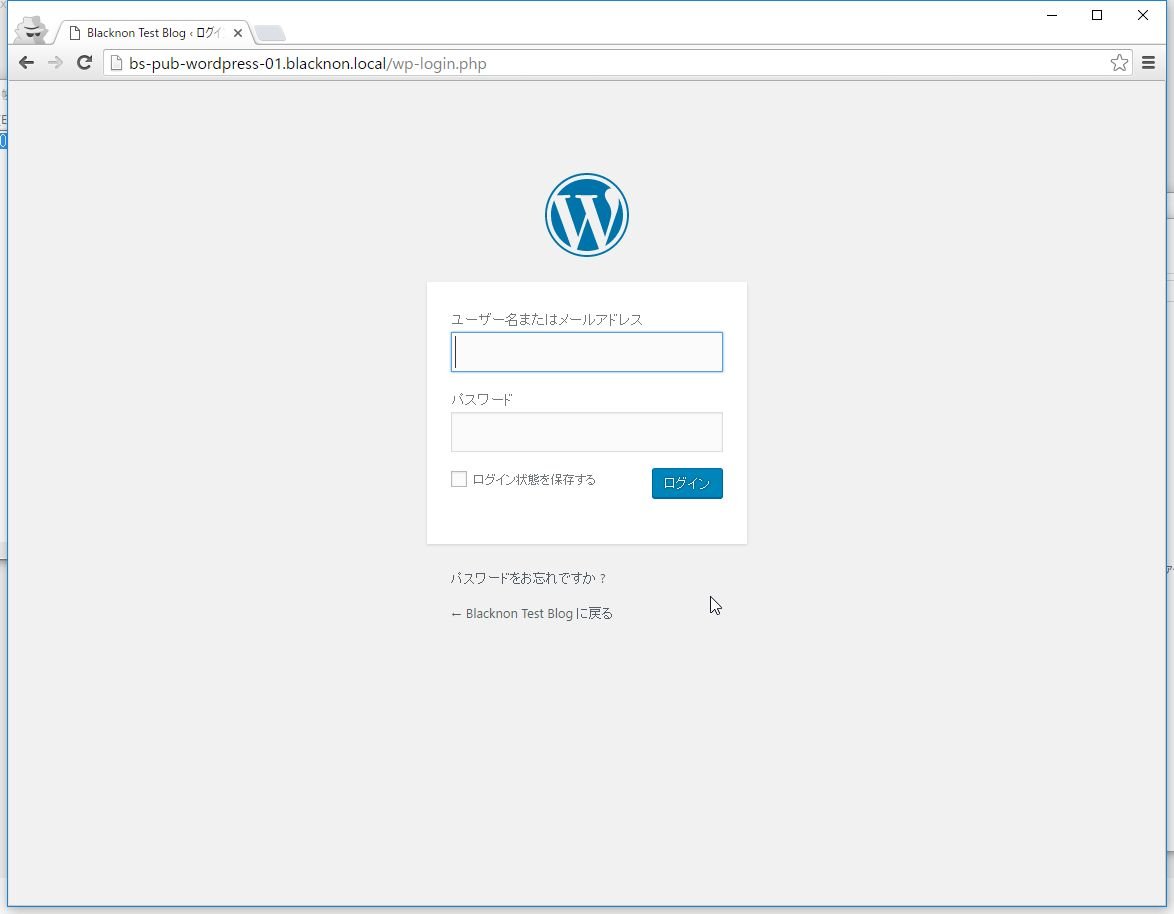
以上でインストールは完了。

